1.08.2013

Beggar Block - Vintage Block Quilt Along #3


I'm very excited to share the pattern and tutorial for the third block in the quilt along - Beggar Block.  You may have also seen this block referred to as Spool Block or Butterfly Spool Block.

 It is from the Kansas City Star Newspaper circa 1929.
Here is an excerpt from the original newspaper clipping:
"This interesting block harkens back to the neighborly custom of begging one's friends for scraps of their frocks, or old neckties, to put into a quilt."
Reading that makes me think how different our lives are compared to the quilters of 1929.  Times were tough and not everyone could go to their local fabric store or purchase their fabric online!  I have a quilt my grandmother made and my mother loves to show me which fabrics were her dresses!!!  I love to think of my great grandmothers resourcefulness using pieces of my mother's dresses for her quilts. 

I've chosen to make this using foundation paper piecing.  It insures accuracy!
If you prefer template piecing - You can print the pattern, cut apart, glue to card stock and add 1/4" seam allowance

This pattern makes a 12" finished / 12 1/2" unfinished block

FABRIC
-Background (Pattern Pieces A2, A3, B2, B3) -appoximately a F8 or 1/8 yard.
*Cut 16 rectangles 2" x 2 3/4"
-Outer Spools (Pattern Pieces A1 & B1) - 8 x 2 pieces each 2" x 4 3/4" (16 total)
-Inside Rectangles (Pattern Piece C ) - 8 pieces 2" x 4 3/4"
-4 1/2" square for center 


OTHER SUPPLIES
-Acrylic Ruler
-Cutting Mat
-Rotary Cutter
-Sewing Scissors
-Fine sewing pins
-Spray Starch
-Matching thread
-Light Wt copy paper or vellum.  My favorite vellum is from Office Depot. Link here.
It is translucent so you can see the fabric easily, it is cotton fiber so you can press with a dry iron without the paper shrinking, and you can put it through your copy machine!
(it is also great for drawing : )

NOTES
-Trim threads as you go.
-Sew with a scant 1/4" seam.
-Change your stitch length to 18-20 per inch for paper piecing (sewing through paper pattern.)   It is OK to switch back to 10 - 12 stitches per inch when sewing portions of the block together where you are not stitching through paper.

Paper Piece a Beggar Block
Step 1 - Print out the pattern

1) Print out the pattern for reference. Be sure to select Page Scaling - None.   
Link Here.
2) Print out two pages of the foundation pattern sheets on to light weight paper or vellum.
You will have 8 total.  The blocks should measure 4".   Link Here.
3) Cut out the pattern as pictured.

Step 2 Place your fabric on the pattern


1) Turn the top portion of the pattern ( A1, A2, A3, C ) over so the wrong side is facing you. 
2) Place the right side of the colored fabric rectangle on the pattern wrong side so it covers section A1 with at least 1/4" all around.  Holding the pattern and fabric up to a window will help you to see the pattern through the fabric and help you position the fabric.
Pin the fabric in place on the pattern.

Step 3 - Trim the fabric

1) Place the pattern and fabric with the pattern right side up, and the fabric beneath.
2) Fold the pattern back along the seam line.  Trim the fabric to 1/4" from the fold.  This is your seam allowance.
3) Repeat for the second seam.

Step 4 - Cut the background rectangles in half

1) Cut 2 rectangles in half as pictured

Step 5 - Add the Background sections


1) Turn the pattern over so the fabric is facing you, right side up.
2) Place the Background triangle A2 right sides with Spool A1.  Pin in place.
Repeat for the other side.

Step 6 - Stitch the Background sections

1) Turn your pattern piece over so the pattern right side is facing you and the fabric is on the bottom.
2) Stitch on the line between A1 and A2.  Stop at the seam line that connects section C, Backtack. 
Repeat for the other stitching line - A1 to A3.
3) Turn over so the fabric right side is facing you and finger press the seam open.


4) Turn over the pattern so the pattern right side is facing you.  Fold back section C on the seam line.  Trim beyond the seam 1/4".  This is your seam allowance.


Step 7 - Attach middle section C
1) Place the right side of section A to the right side of section C matching the raw edges.
Pin in place.


2) Flip the pattern over and stitch on the seam line between section A & C.

3) Turn to fabric right side and press seam.
4)  Flip over so the right side of the pattern is facing you.  Trim around the block leaving a 1/4" seam allowance.
Step 8 - Stitch and Attach Unit B
1) Stitch unit B together following instructions Steps 2 through 6.
Trim around unit B leaving a 1/4" seam allowance all around.
2) Place the right side of unit C to the right side of unit B matching raw edges.  Stitch together just on the edge of the patterns with a 1/4" seam allowance.
 3) Turn to the right side and press the seam. 
4) Repeat for the remaining seven sections
Assembling the Block
 To assemble the block, stitch the left, middle and right columns separately. 
 Press seams open.
Stitch the left to middle column matching and pinning seams. Press seam open.
Stitch the left/middle column to the right  column matching and pinning seams. Press seam open.

***Yay - block complete!***
There is a flickr group devoted to these kinds of blocks.  Check it out for inspiration!
Please visit my Vintage Block Flickr Group and be sure to download pictures of your blocks - I love to see what you make!!!!
xo
Charise

1.03.2013

***2012**

Oh my goodness!!!  It was a very busy 2012!  I was lucky enough to be published in a few of my favorite sewing and quilting magazines!
It was incredibly gratifying to contibute to Stitch - I designed two skirts that are in their Spring 2013 issue!  It was fun to go back to my roots in fashion design!!
Details:
From Upper Left, clockwise:
Pomme Potholder - Stitch Spring 2013
Rainy day tote - Stitch Spring 2013
Cozy Slippers - Stitch Spring 2013
Two Dresses - Quiltmaker 100 blocks Issue 6
Cozy Slippers - Stitch Spring 2013
Uptown/Downtown Skirts - Stitch Spring 2013
Gathered Clutch - Stitch Gifts 2012
Quilt Blocks Sachet Trip - Stitch Gifts 2012
 
 
I designed more paper pieced patterns than I realized!! 
 
 
My Ringo Pie blocks numbered five!  I'm a bit behind but look forward to catching up this month!


My Cocorico Bee Blocks numbered six though two are for Leila's Where the Orchids
Grow : )
I'm also behind here and looking forward to catching up.
 
I love to make bags and pouches!  The purse in the upper left hand corner will be a completed pattern.....soon : )
 
 
And lastly, some miscellaneous makes, most of which were for swaps.
 
Happy 2013 to everyone and Happy Creating!!
xo
Charise
 

12.25.2012

Merry Christmas

Wishing everyone a Merry Christmas.  Ours was lovely!  My boys had a wonderful time today playing with their new legos and wearing their mama made star wars p.j's. 
My husband's 95 year old grandmother spent the day with us - it was wonderful!!

My hubs and I were up late lastnight wrapping last minute gifts.  I checked my email and there was a sneak peek at the new Stitch Spring 2013.  I received the best Christmas gift ever - one of my projects that is in the issue made it on the cover!!!!  I'm so excited....I had a really hard time falling asleep lastnight!!

The issue hits stores on January 15th but the digital issue is available now.  You can find it here.
I will post more pictures once the issue is out......I promise it is a good one.  Lots of wonderful projects!!

xo
Charise

12.20.2012

What I'm working on Wednesday (on Thursday : )

Hope you are all getting excited for the Holidays!  My little guys are counting the days : )
 
I'm going to be working on some Star Wars flannel p.j.'s later this afternoon but thought I would share my latest work in progress. 
Both pics are a little tease of a project that will be published in March 2013!!


Some Beggars Blocks......

Plus my block from Quilmaker's 100 Blocks in new fabrics....
They will both have some new friends : )

Have a lovely day!
xo
Charise

12.13.2012

Hexie Pouch - A little tute

In celebration of my birthday today, I thought I'd share a little tute with you!!
It is a big one (the birthday that is) but I'm not feeling one day older than 28 : ) He, he.........

I made this one for my dear friend Rebecca for a swap we did.  I had some requests for a pattern so I thought I'd share a tute with you so you can make one based on the frame you have.  There are lots of different shapes and sizes of purse frames.  Both the pouches pictured use a medium sized frame - 5" wide at the bottom x 1 1/2" tall.  The great news is that you can use any size frame based on this tutorial.

Supplies: (fabric requirements based on a medium sized purse frame 5" wide x 1 1/2" tall)
~1 metal purse frame - I like the sew in type.  The one used in this tutorial is  4"  wide at the top x 5" wide at the bottom x 1½" high. A similar one can be found HERE.
There are also some really cute ones on Etsy HERE
The frame can also be found at Joann fabrics in store.  That is where I purchased mine.  They don't have it online : (
~ 2 pieces 10" x 10" fabric for the shell
~ 2 pieces 10" x 10" fabric for the lining
~ 2 pieces 10" x 10" fusible fleece
~ Perle Cotton Embroidery thread
~Matching thread
~Fabric marking pen or pencil

This is a great project to add hexies or use an orphaned paper pieced block or quilt block.


Making the Pattern

~ Mark a vertical line toward the left edge of your paper.  This is the center or fold line of the pouch.
~ Place the center of the frame on the center line on your paper.
~ Trace the top of the frame to the curve.
~ Pivot the frame at the middle of the curve and trace the rest of the frame. The more of an angle and width you add, the wider and "poofier"  the pouch will be.
~ Add 1/4" to the end of the frame.
~ Draw in the rest of the bag shape and then add 3/8" seam allowance all around.
This pouch measures 7 1/2" High x 8 3/4" wide at the widest point.
I added darts to this pouch to give it a bit more shape.  The darts are 3/4" wide x 1 1/4" tall.

~Note**Another way to check you pattern is to measure the top edge of the frame and compare it to the seam line on the pattern.  The pattern seam should be about 1/2" larger than the frame measurement**

Sewing your pouch together.
The instructions use photos of the pouch pictured above but will work for any pouch pattern.
 
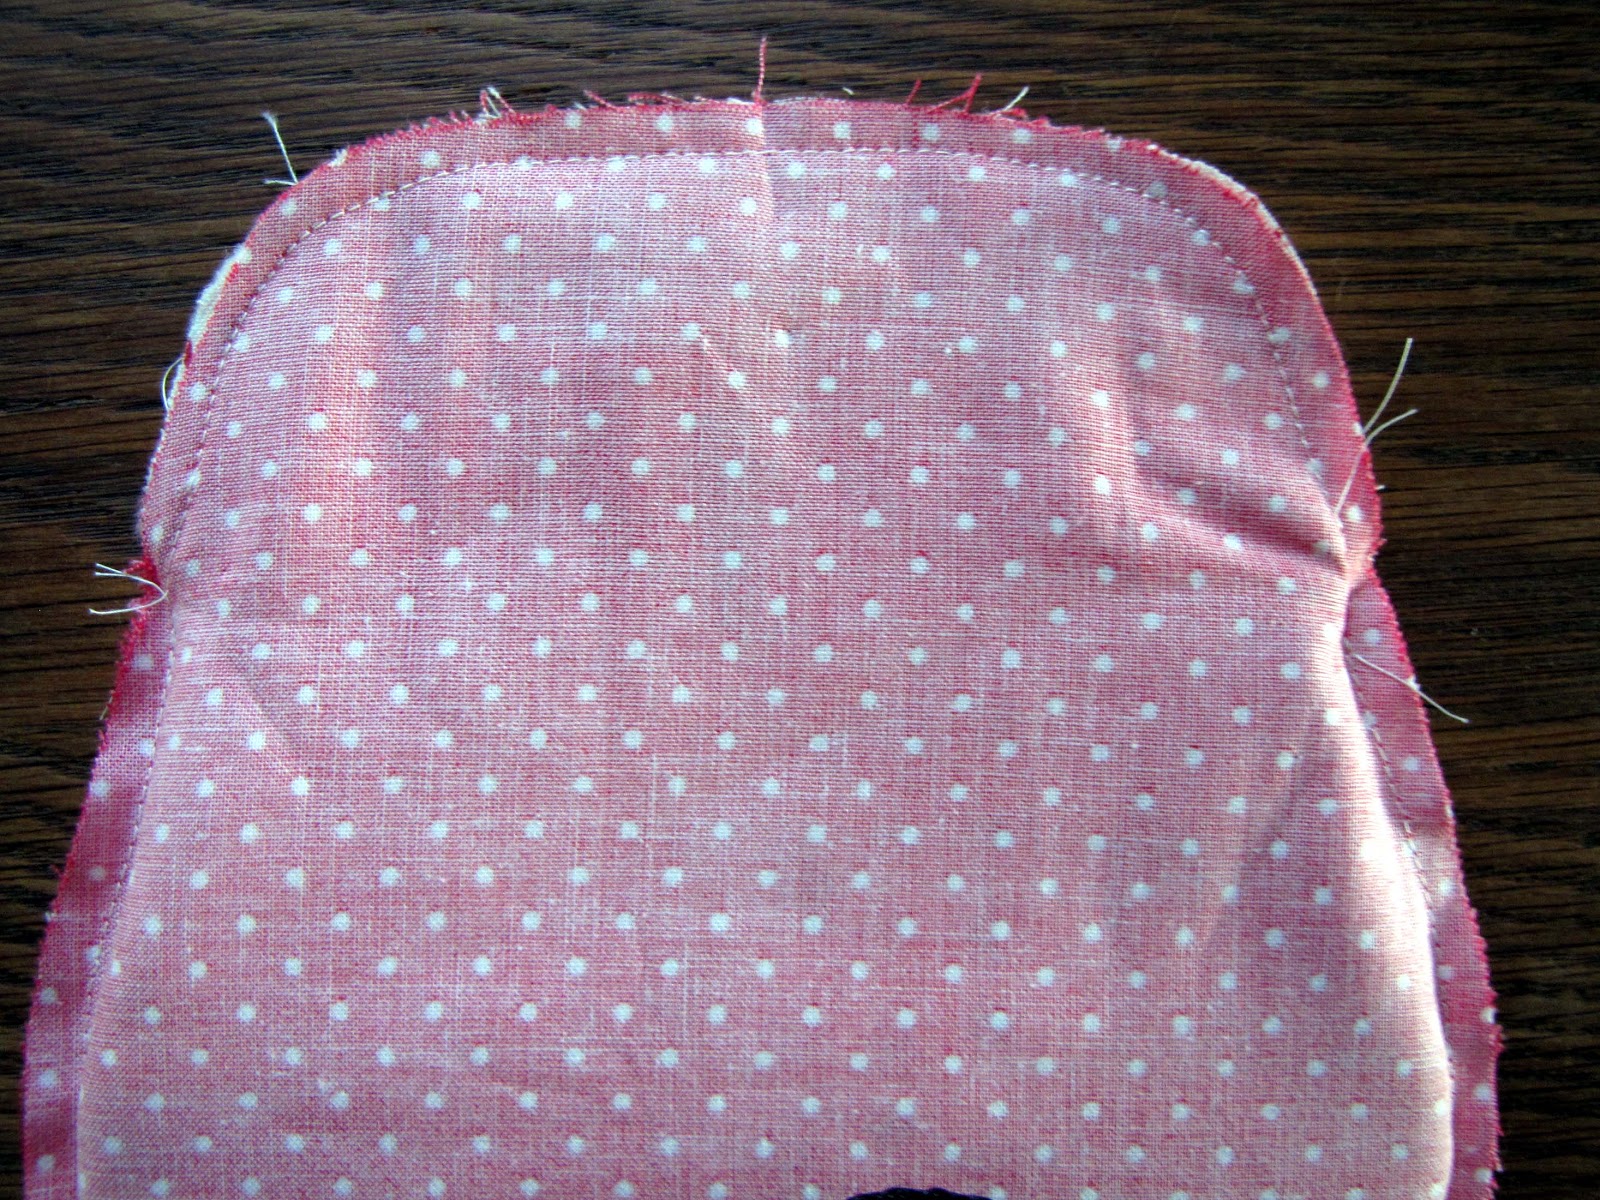
Prepare the outside panels of your pouch.
1) Sew the outside panels of your pouch if doing a paper piecing block, quilt block, or hexie design.
Make sure your block is bigger than the pattern, approx. 10" x 10".
2) Apply the fusible fleece to both wrong sides of your outside pouch panels.
Quilt as desired. 
3) Place your pattern on the quilted panels.  Trace around the edge and cut out.
 If your pattern has darts, stitch them now.


Stitch the outside Pouch
1) Place your outside pouch panels right sides together.
2) Start at the frame/pouch intersection stitch around the bottom to the other side.
Press seam open.
3) Turn right side out.


Stitch the Lining
1) Cut your lining pieces.  Stitch the darts if they are part of the pattern.
2) Place your lining pieces right sides together.
3) Start at the frame/pouch intersection stitch around the bottom to the other side leaving a 3" opening at the bottom for turning.
Press seam open.
 
 
Stitch the outside pouch to the lining
1) Place the outside pouch inside the lining, right sides together.
2) On one side, Stitch the outside pouch  to the lining starting at frame/pouch intersection stitch around the top to the other side.
Repeat for the other side.
Press seam open.
3) Turn right side out.
4) Stitch the lining opening closed with an edge stitch or a hand slip stitch.


Stitch the Frame to the Pouch
 
1) Find the center of you top pouch panel.  Place the center of the purse frame at the center of the pouch panel
2) Starting at the center, baste the frame to the pouch on either side. 
Repeat for the other side
3) Stitch the Frame to the pouch with Perle cotton embroidery thread.
 
I'd love to see your version of the frame pouch.  Please include your projects in my Flickr group here.
 
Have a great day!  My 28th ; ) birthday will be filled with an Art Docent Lesson on Van Gogh to 27 Kindergarteners, hopefully a trip to Anthropologie just for fun, and an evening viewing of "Anna Karenina" with my hubs!
 
xo
Charise


12.12.2012

Sew Mama Sew Give-away Winner

Thank you all so much for entering my give away.  I loved reading your comments!!


The winner is Jenny who said:
Those are so cute! I haven't yet paper pieced, but I plan to learn this year, so I'd love these -- thanks!

Congrats Jenny - I just sent you an email!!


12.03.2012

Sew Mama Sew Give-Away Day!!!

Hi!  Today is the first day of Sew Mama Sew's Give Away Day!
 
I'm excited to be giving away the following:
 
My "Vintage Kitchen" Paper Piecing Patterns:
Mixing Bowls, Tea Time & Vintage Apron


Please leave a comment on this post by December 7 at 5 p.m. PST.
Please make sure I can contact you : )

 
AND don't forget to check out Sew Mama Sew blog for more give aways!!!
Good Luck

xo
Charise


Incredible Mail!!!

 
I've been so fortunate to receive such amazing goodies from online friends!
 
 
Becca and I did a swap and she sent me the most incredible package.
Everything was perfect. I Love the sewing caddy and pouch. The strawberries are adorable!!
She made those cute magnets. I'm so lucky to have such a super talented and sweet friend!!!
I can't wait for our next swap : )
I also did the handmade ornament swap On Flickr hosted by Lauree!
For my partners,  I made the houses you see in my mosaic.
I received the most incredible ornaments. My color scheme for decorating is Red and White. I just love how they look together! I can't wait to put them on the tree!!
These lovely ornaments came from Amy (angel), Synnoeve ( Crochet heart, bastket and fabric), Krista (Hot Air Balloon) and Wendi (Glass ribbon ball).
 
This amazing pillow came from Sew She Did's Sheetal for the Pillow Talk Swap on Flickr.
I LOVE this pillow.  Most of the fabrics are vintage scraps!!  I'm so lucky to have such an amazing partner!!!
 
xo
Charise

12.02.2012

Fresh Sewing Day and Sunday Stash


It was an exciting November for me!   I was able to share some projects I finished in the Spring -   I was lucky enough to have projects in Stitch magazine and Quiltmaker's 100 blocks!!
And I even got a few swap projects done!!!
 I finished two tutorials -
I completely overextended my self but it was well worth it.

Be sure to hop on over to Lily's Quilts for Fresh Sewing Day and see some great blogs and projects!

I received these fun fabrics in the mail yesterday and just had to share!

The Melody Miller fabrics, which are on the top and bottom,
go so well with the "Stamped" print in the middle.  All fabrics are from Kokka.
You can find these fabrics at Pink Castle Fabrics.  Brenda is having a 20% off sale through today - use code INVENTORY20.

 
xo
Charise


12.01.2012

Sale at Pink Castle Fabric

Brenda at Pink Castle Fabrics is having a fab sale this weekend!  Everything in the store is 20% off with the code - INVENTORY20!!
 

I'm loving the new line "Stamped" from Kokka!!
 
 
Have fun shopping!! 

Vintage Block Quilt Along - Block #2 - Night and Day


For those of you who are joining me on this Vintage Block Quilt Along adventure, thanks for your patience!!!!   It has been a busy November!!

This month our block is from Alice Brooks and is called "Night and Day".  It is a fairly fast block to put together.  There are four "Y" seams but I promise you will have that skill mastered after finishing this block!!!

OK....lets get started!

1) Print out your pattern template. 

You can find it [HERE]

Be sure to check the 1" square!


2)
 Using the picture on the pattern piece as your guide, cut out the pieces as marked on the pattern.
Mark the notch on pieces C.
Mark the 1/4" intersection point on pieces A.

3)
 On pattern pieces B, place right sides together on inside edge.
 Mark 1/4" up from bottom, noncurved edge. 
Stitch from top curved edge to mark at botton edge.  Back tack at ends.
Press seam open.


4)
Match the point intersection on Piece A to the 1/4" mark on piece B.
Pin in Place.


5)
Flip over the pinned section A to B.
Stitch from edge to the 1/4" mark on piece B.  Do not stitch on the seam allowance.

6)
Pivot the unstitched seam on B to match the unstitched seam on A.  Pin in place.
Stitch from the 1/4" mark to the edge.

7)
Press the seam on B open.
Press the seams on A toward piece B.

8)
Match the notch on C to the seam on the curved edge of B.
Pin in place and stitch.

9)
Press the seam allowance towards block C.
True up the section to 6 1/2".

Repeat steps 3-9 for the other 3 portions of the block.
Stitch the two left blocks together matching seams. Press seam open.
Stitch the two right block together matching seams.  Press seam open.
Stitch the left section to the right section. Press seam open.

****Congrats - you have completed block #2!****
I'd love to see your version - please add yours to the Vintage Block Quilt Along Group on Flickr!!!
xo
Charise