Showing posts with label handmade gifts. Show all posts

12.19.2016

Happy Holidays to You!!


My goodness!  It has been over a month since I posted here.  
It has been super crazy dealing with our house remodel.  
We moved last week and we still have the final move into our house. - hopefully by February. 
We found a two bedroom basement apartment that is cozy and comfortable, but I am seriously looking forward to being in our new house!


In the meantime I have found a bit of time for Christmas sewing.

If you are looking for some gift sewing ideas, check our my gifts to make page [HERE]


I made these open wide pouches designed by Noodlehead.  
If you are looking for an easy last minute gift to make, this is also a good one.
The pouch pictured in front has a leather bottom which matched nicely with the Cotton and Steel canvas print.
Find a tutorial for sewing leather or suede [HERE]


The large pouch is perfect for smaller knitting projects.
You can find the tutorial [HERE]
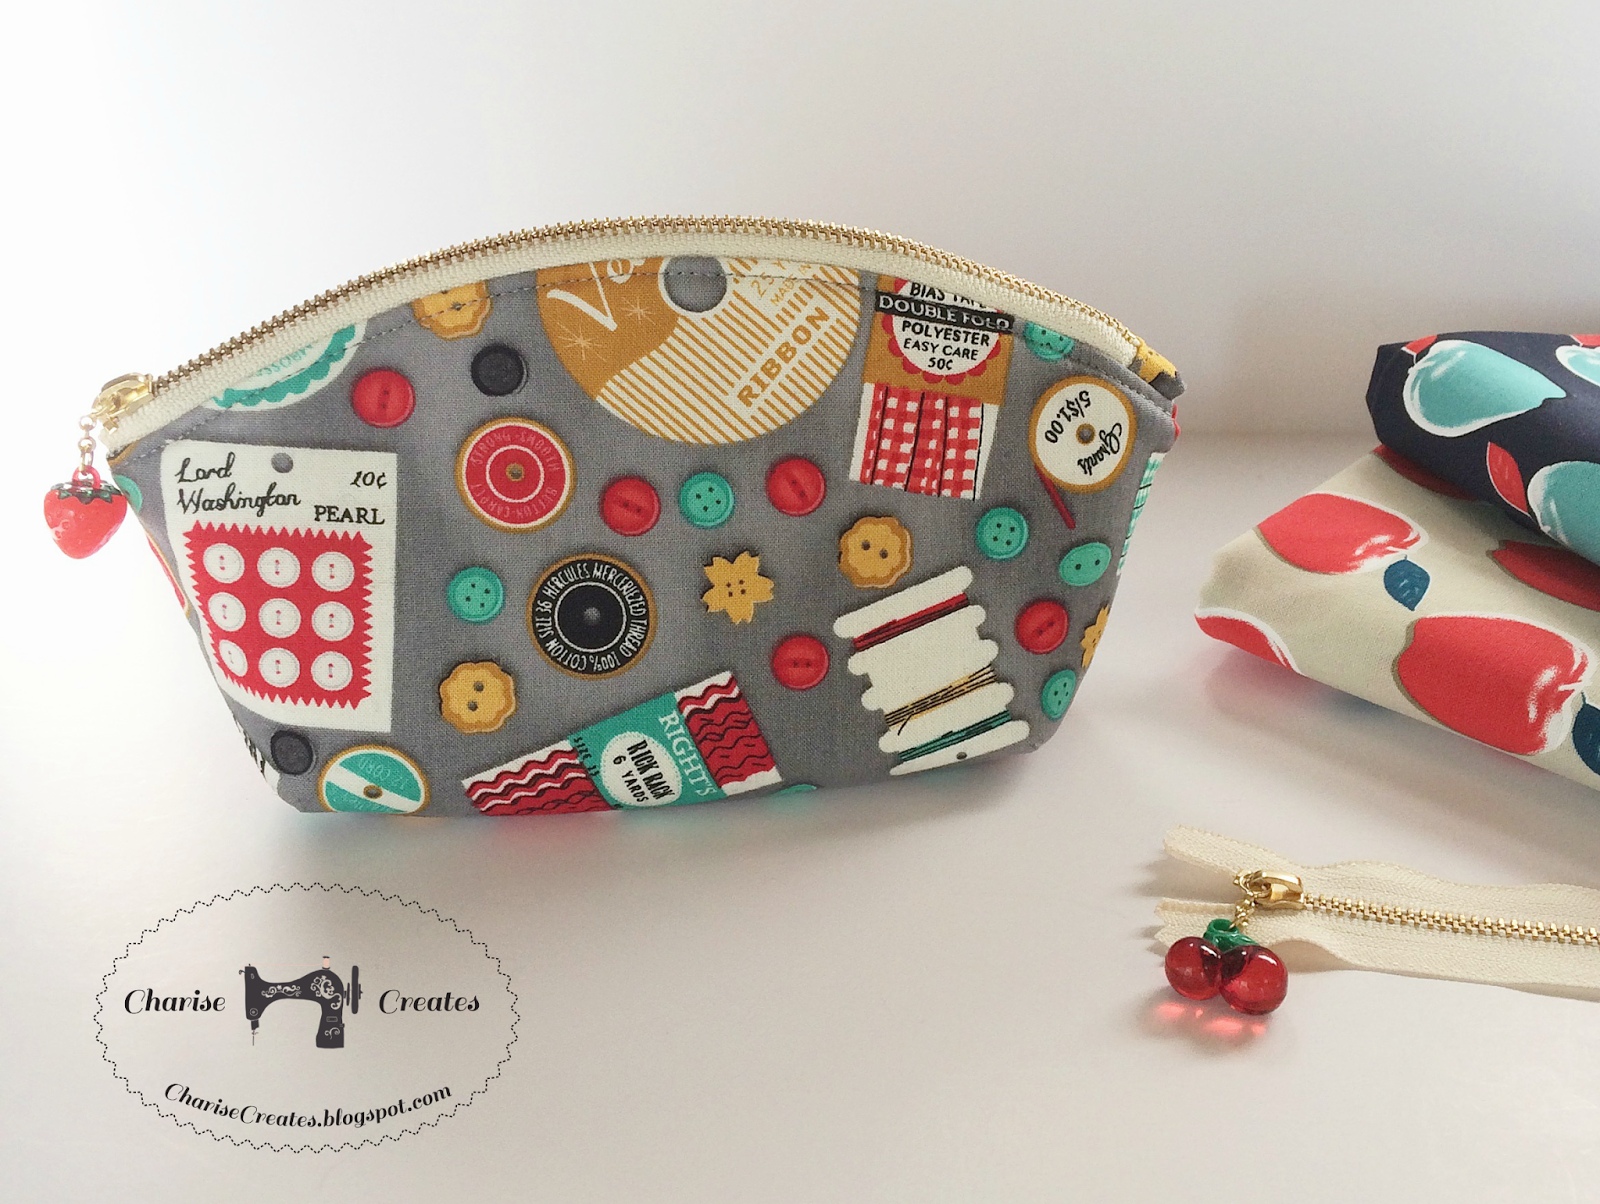

I saw some adorable Petal Pouches on IG made by the talented a__l
The pattern is also from Noodlehead and is a fun and easy make.


I couldn't resist making a patchwork version and raided by scrap basket. 

OK... back to Holiday sewing I go  :)

Happy Sewing
xo
Charise
SaveSave

12.10.2015

Handmade Gifts ~ Apple and Pear Potholder


Hello and Happy Thursday.  Only 15 more days until Christmas!  Yikes.....
I am working on more Holiday Sewing and thought I would share a quick make 
that is a wonderful gift.


These round potholders are made with my free apple and pear paper piecing pattern which you can find [HERE].
The round potholder tutorial can be found [HERE].  
I am pairing them with a fun set of 
colored dipped bamboo spoons I found at a local kitchen wares store.
I found these on Etsy which are adorable!

If you missed any of my previous Handmade Gift posts, You can find them [HERE]

Wishing you Happiness and Peace during this hectic Holiday Season!

xo
Charise


12.04.2015

Handmade Gifts ~ Citrus Pouch


Happy Friday!
Today I am sharing another handmade gift idea for my Handmade Holidays series.


I designed the citrus pouch for the Liberty Craft Blog.  
It is the perfect size for a pencil pouch.
I have shown it here with a lovely, colorful Moleskin Sketch book and some fun colored pencils.
Another perfect gift for your creative friends and family.


It is also the perfect size for portable sewing supplies or a make-up pouch.


The fabrics used in the pouches pictured are from Liberty of London. They are a lightweight cotton lawn, but any quilting weight cotton print or solid would work nicely, too.

You can find the pattern and instructions on the Liberty Craft Blog [HERE]

  Happy Sewing
xo
Charise

12.01.2015

~~~November~~~


Sewing this pouch for my mom with my Vintage Dresses pattern.

My Diamond Patchwork Purse in Stitch Winter 2016.  

Carved another block from Design, Carve, Print Class. More details [HERE]

Made a purse from my first block print from the Design, Carve, Print Class


Making progress on my Farmer's Wife Quilt

Loving this knit top and plan to make more : )

Playing with my new coverstitch machine and will share a review this month.

Finished my blocks for Amy's Maker Quilt and even mailed the package!

Shared some Free makes and Patterns just in time for Holiday Gift Giving


Have a lovely 1st day of December!!!

xo
Charise

11.25.2015

Handmade Gifts ~ Good Night Nightie


Today I am going to share a night gown I designed for Stitch Beautiful Bedrooms.
Another gift for a special gal in your life.

The neckline has a pretty ruffle detail made with elastic thread.
The armholes are bound with self fabric binding that also creates the shoulder straps.


A perfect night gown made in a lightweight cotton voile, it would be equally lovely made in a drapey silk or rayon.
The hem has a pretty lace trim detail.


A lovely gift paired with a pretty scented soap.

You can find the FREE pattern on the Sew Mama Sew website [HERE]

Happy Holiday Sewing!
xo
Charise

11.24.2015

Handmade Gifts ~ Lavender Pinwheel Sachet Tutorial


Today I am going to share a gift that would be perfect for a special lady in your life ~ Mother, Best Friend, Sister.....


The sachet is based on a coaster pattern that I designed for RJR Fabrics Supreme solids blog hop.  
I modified the pattern a bit to make a lavender sachet.  
It has a hanging loop so you can tuck it in a drawer, under your pillow or hang from a hanger in your closet.


It is also a fun little gift to pop into a stocking.
This is a perfect gift paired with a beautifully scented candle ~  I found this candle at a local gift shop.


I used Liberty fabrics for this sachet.  Since it takes such little fabric, it is a great way to use up some large scraps of fabric.

Lavender Pinwheel Sachet Tutorial

Supplies :
1 - 4" square background fabric 
1 - 4" Square yellow print fabric 
2 - 1 1/2" x 4 1/2" strips print fabric
2 - 1 1/2" x 6 1/2" strips print fabric
1 - 6 1/2" square solid or print fabric for backing
9" - 1/4" - 1/2" wide ribbon
1 Button
Dried Lavender Florets (Mine came from my garden.  You can also buy lavender florets online.  My favorite online store is Pelenduba Lavendar which is located on San Juan Island in Washington State)

Matching Thread
Rotary Cutter and self healing mat
Acrylic ruler

*All seams are 1/4"*

Follow the directions for the Pinwheel coaster - Step 1 - 6 [HERE]

Step 7

Baste the ribbon the the top center of the front sachet right sides ribbon to right side sachet.

Step 8

Place the front sachet right sides together with the 6 1/2" square.


Stitch around the perimeter leaving a 2" opening at the bottom.
Clip corners.
Press the seams open.  Turn right side out and press 

Step 9


Stitch around the border leaving a 2" opening at the bottom.

Step 10

Make a small funnel with a 4" square of paper.
Fill the center of the sachet with the florets. 

Step 11


Stitch the opening between the border and pinwheel center closed.
Slip stitch the opening in the outer border.

Step 12


Stitch the button on the center of the sachet using a backing button on the 
wrong side. 


Enjoy your beautiful fragrant sachet : )

Happy Sewing
xo
Charise