3.12.2015

The Anna Blouse Sew Along - Marking and Cutting out your pattern


Hello!  Today I will share some tips for cutting out and marking your Anna Blouse.
Hopefully by now you have made any changes to your Muslin and Pattern and are ready to cut into your final fabric.

Refer back to the Supplies page for all the items you need to mark and cut out your Anna Blouse.

Preparing and Marking your pattern


First,  you will want to prepare your Pattern for marking.  If you have a notcher, mark each notch on the pattern with the notcher.  The notcher will cut a small square cut into the edge of the pattern.
 If you don't have a notcher, cut a tiny "V" on your pattern at the notch marks.


My preferred method for cutting out my patterns is tracing around the pattern with Tailors chalk.


Arrange your fabric referring to the Cutting Layout sheet on the pattern.  If the fabric is folded in half, make sure the selvage edges meet and the grain line runs the length of the fabric.
Make sure to press your fabric to get all the wrinkles out.

Place the largest pieces on the fabric first and anchor in place with pattern weights.


Next, place the smaller pieces down (Binding neck and cuff trim, keyhole trim).  Make sure the grain line is parallel to the grain line on the fabric by measuring from the edge of the fabric fold or selvage to the grain line on the pattern piece with a ruler.  Secure in place with pattern weights.


Trace around the pattern pieces with Tailors Chalk.  Mark all the notches with chalk.    You can add pins to the edge of the pieces on the inside of the chalk line to keep pieces with multiple layers in place.


Cut around the piece just cutting off the chalk line.


Using your scissors, clip into each notch by 1/8".

Marking the Tucks
(This is the same process used for marking darts)

Print and cut out the Tuck Template for your size.

1) Supplies: Notcher, Circle Cutter and Tailors Chalk, Marking Pen or Pencil
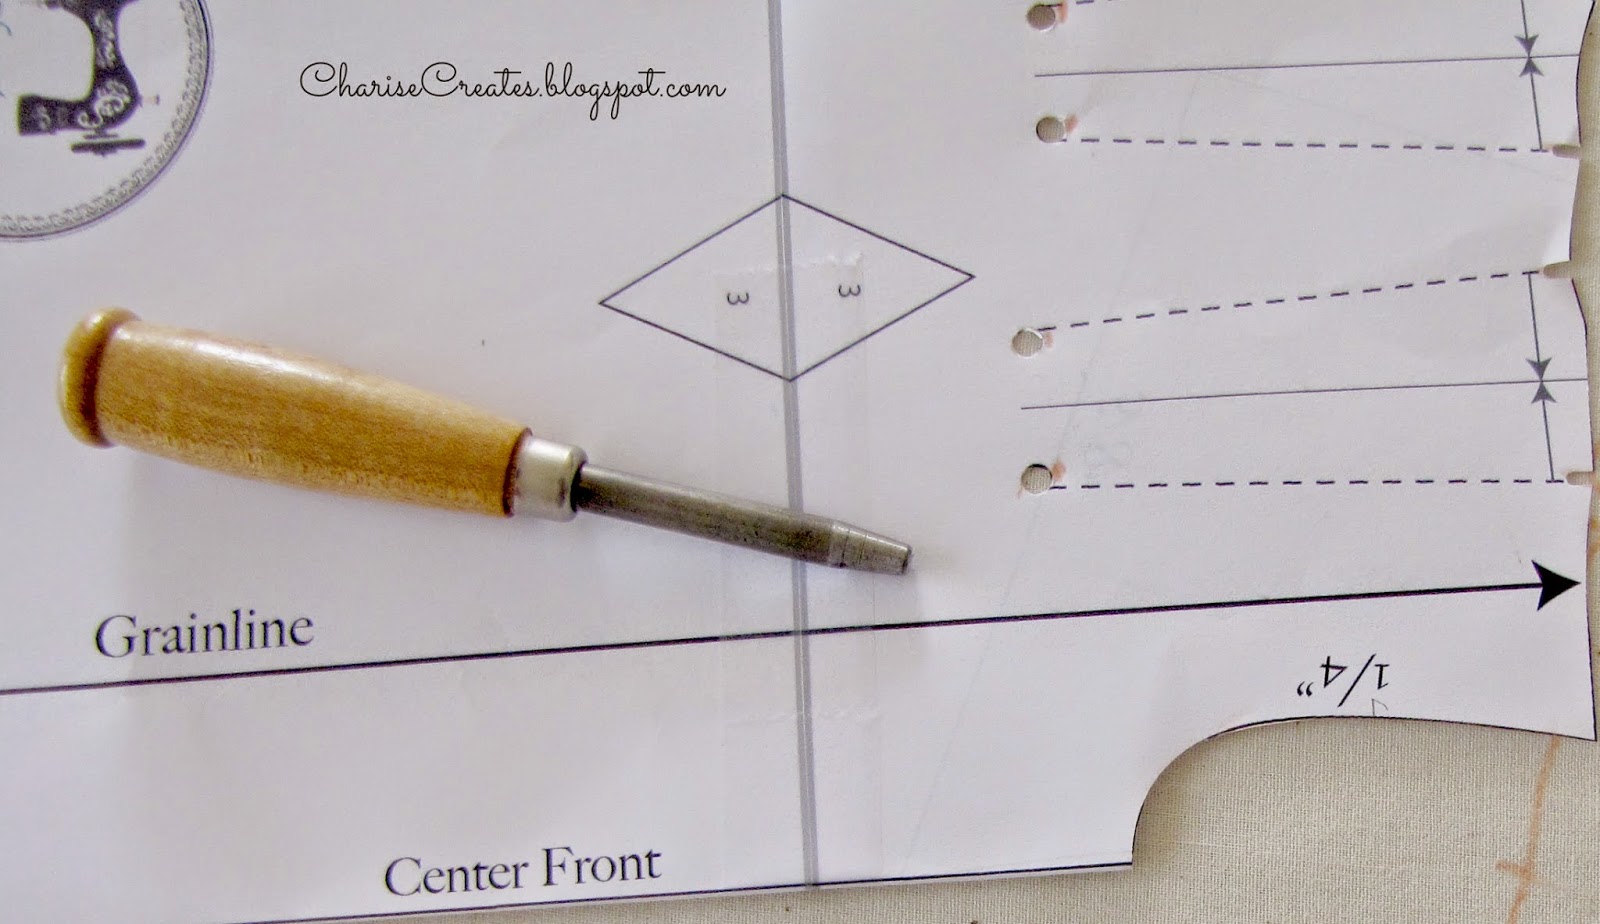
Mark the notches on the Tuck Pattern Template with the notcher.  Mark the bottom of the tucks with the circle punch.

Place The template on the wrong side of the front panel, lining up the top edge and CF.  Pin in place. Mark the notches with tailors chalk.  Cut the notches 1/8" into each marking with scissors.

Mark inside the circles with a marking pen or pencil.

Place the Template on the other side of the front panel and mark the bottoms of the tucks.

Draw a line from the top notch to the bottom legs of the tucks.


2) Supplies: Tailor's Chalk and Marking Pen or Pencil.
Place The template on the wrong side of the front panel, lining up the top edge and CF.  Pin in place. Mark the notches with tailors chalk.  Cut the notches 1/8" into each marking with scissors.

Pin the bottom of the tucks at the circle marks.

Lift the template and mark the circles on the fabric with a fabric pen or pencil.

Flip the template over and mark the circles below the pins on the opposite side.

Draw a line from the top notch to the bottom legs of the tucks.


Check back tomorrow and we will sew the tucks and keyhole binding!
xo
Charise


3.11.2015

Apples and Pears ~ Work in Progress Wednesday

It has been such a fun journey - learning how to paper piece and share my patterns with you!
I unearthed my Apple and Pear patterns which I created more than 3 years ago!  
You can find the free apple pattern and tutorial HERE.


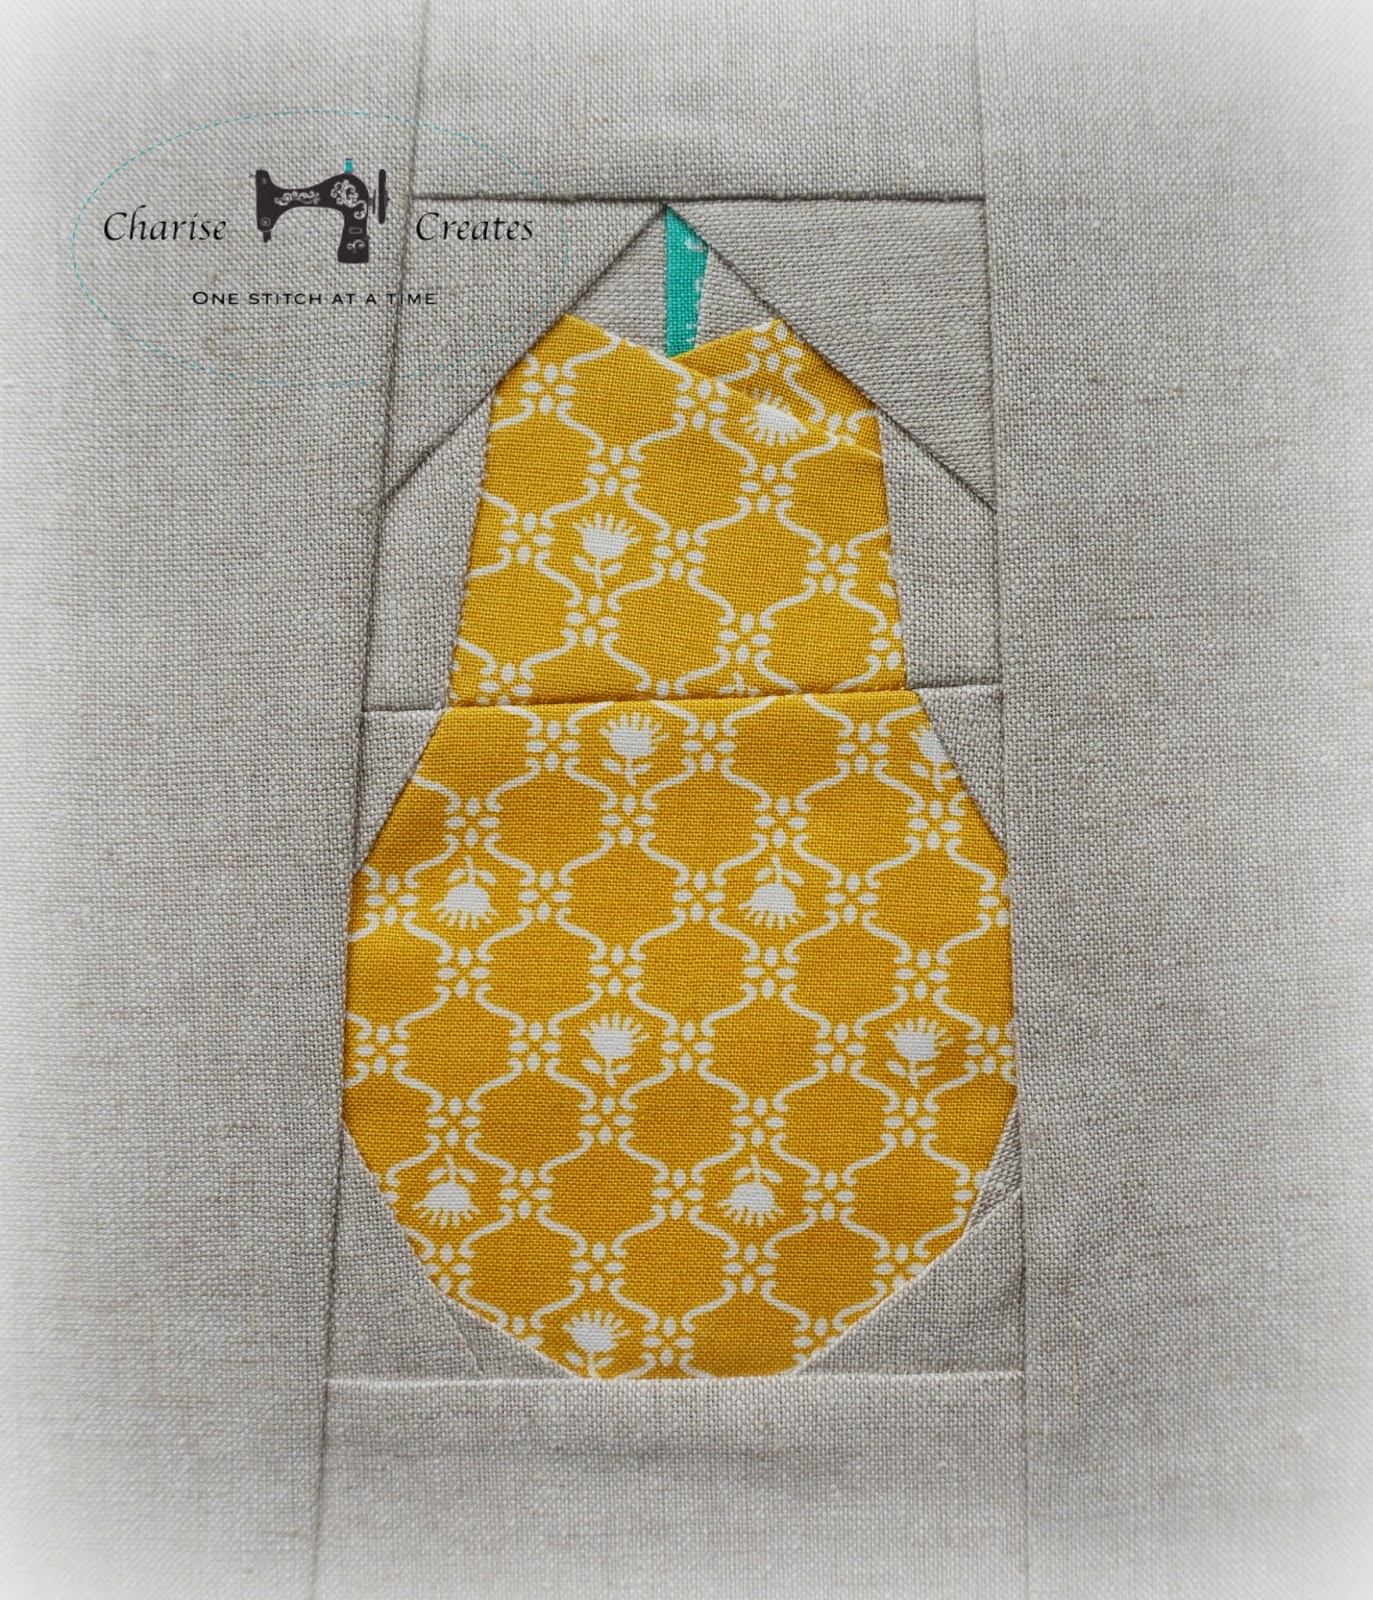
I decided to sew up the pear today to match the apple I made in a class I taught last weekend.  More on that below. 


Do you remember this project?  I created these potholders and promised a free pear pattern : )

Well.... I am working on updating these patterns - making them a bit bigger and including the original pear pattern I designed in 2012 : )
Look for the patterns soon.  They are fast and fun to make.

Great for pouches, totes or potholders as pictured above.


 The patterns also inspired the block and circle pouch I created for "Playful Little Paper Pieced Projects.


I taught a private paper piecing class last weekend to two lovely ladies - a mother and daughter.  I used the apple pattern as a class sample.
We started with the crayon pattern which is a free pattern you can find HERE.
Their projects turned out so adorable!

I hope you are enjoying your day and finding a bit of time for creativity : )

Be sure to check out the other wonderful Work in Progress Wednesday Projects over at Freshly Pieced!

xo
Charise


3.10.2015

The Anna Blouse Sew Along ~ Pattern Alteration ~ Increasing the Bicep


Today I am going to share a tutorial for altering your Anna Blouse Pattern to have a larger bicep / upper arm.


This is called a "Slash and Spread" method to add more volume to this area.  


If you want a flutter sleeve this is how you would add that detail to your Anna.


1) Trace the Short Sleeve pattern on a new sheet of paper.
Draw a line from the center notch to the hem parallel with the grain line.  This line basically cuts the sleeve in half.  Cut out the sleeve.


2) Cut on the line from the hem about 5/8" away from the top edge.  Open the pattern the amount you wish to increase the bicep.  In this example, I am increasing the bicep by 1".


3)  Side a piece of paper under the area you spread and tape in place.


4) Redraw the grain line from the top notch to the center of the area you spread the pattern.  On this example the grain line is 1/2" from the cut edge.

5)  Redraw the curve on the top edge of the sleeve with your French Curve.

6) Draw the bottom hem with you French Curve.

Join me on Thursday and we will Cut Out and mark you Anna Blouse in your Final Fabric!


3.09.2015

The Anna Blouse Sew Along ~ Pattern Alteration - Raising the Neckline


Today I will be sharing a tutorial on How to Raise the neckline on your Anna Blouse Pattern.


1) Trace the Front pattern on a new sheet of paper.


2) Based on the muslin and where you want the new neckline edge to fall, mark that point on the newly traced pattern at the folded edge.  For this example, I am going to raise the neckline by 3/4".
 Place the top edge of the pattern on the new mark, lining up the pattern at the CF fold.


4) Trace the new neckline.

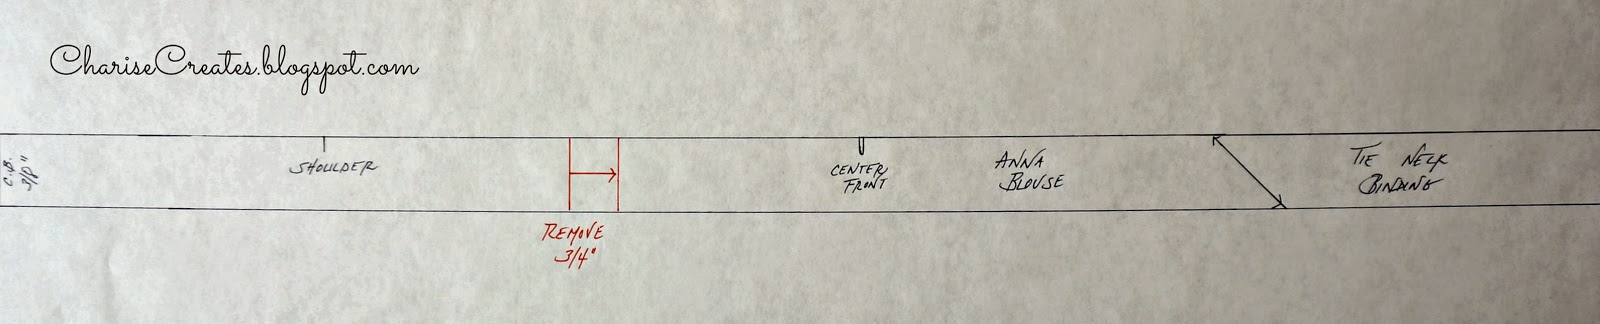
5) The binding will need to be shortened to the new measurement as well.   Since you are making the front neckline shorter, you will need to make the binding shorter between the Shoulder and the Center Front.

The amount you raise the neckline = the amount you will shorten the neck binding.
In this example I raised the neckline by 3/4" so I will shorten the binding by 3/4".


6) For the Tie Neck Version:

Trace the binding pattern on a clean sheet of paper.  Mark CF, CB, shoulder and grain line.

Draw a line perpendicular to the long edge on the neck binding anywhere between the shoulder and CF.

Draw another line 3/4" from the first (the amount you raised the neckline).


Fold on the first line and match the second.  Tape in place.
This is your new neck binding pattern for the higher neckline.

7) For the version Without a Neck Tie:

Trace the binding pattern on a clean sheet of paper.  Mark CF, CB, shoulder and Grainline

Draw a line perpendicular to the long edge on the neck binding 3/4" from the Center Front.  This will be your new CF Fold line.

You are now ready to sew up your Anna Blouse with the Higher Neckline!

If you would like a resource for fitting and pattern alterations, my favorite book  is "Threads Fitting for every Figure"

I will share a tutorial on making the short sleeve bicep larger tomorrow.

Happy Sewing!
xo
Charise

3.08.2015

The Anna Blouse Sew Along ~ Making a Muslin


Hello! Today I am going to share a bit about making a "muslin" or fitting garment.  I know, it seems like a pain, but it is really helpful to sew the garment up in muslin or a less expensive fabric before cutting in to your final fabric.
That way you can make sure you like the fit of the garment and make any changes to your pattern.   It is so nice to have a pattern that fits perfectly.  Then you can go back to the pattern time and again to make your perfect fitting blouse.


I like to use muslin for my fitting garment, which is an inexpensive cotton fabric.  I buy mine by the bolt at Joann Fabrics with a 50% coupon.  You can also check the sale area of your local fabric store.  I have found some excellent options for cheap!


Lay out the pattern as you would your final fabric as per the cutting layout in the instructions.
Cut out your garment.

Sew the garment as per the instructions. For the side seams, shoulder seams and under sleeve seams,  sew with a 5/8" seam.

Sew the tucks at the neckline

I did not sew the binding on the keyhole of the neckline.  The raw edge will be the finished edge of the binding so the raw edge will give you an accurate position of the keyhole and neckline top edges.

Leave the blouse unhemmed and pin to your desired length once you try it on.  The Anna Blouse is a longer style which hits at the lower hip but you can pin it to your desired length making it longer or shorter.


For the Long Sleeve version, when you try on the muslin gather the bottom hem to the desired width.  Make sure the width of the cuff  binding matches the desired width of the gathered sleeve hem.  You can easily make changes on the cuff length by adding or subtracting width to the pattern.

Try on the muslin and access the fit.
Be sure to put it on with the pants or skirt you will be wearing it with.
The most common changes are changes in the width of the pattern at the waist and hips.
If you want a tighter fit, pin in the excess. If you want a larger fit, rip out the side seam pin in the new seam lines.

Another common change would be to the length of the blouse.  Just pin up to the desired length.

Make any changes to your pattern based on the muslin.

I will share a few pattern alterations Monday and Tuesday but it you have any specific pattern alteration questions based on your muslin, please leave a comment on this post and I will address them for all to read!

xo
Charise

3.06.2015

The Anna Blouse Sew Along - Choosing your size


Welcome to the next stop in the Sew Along - Choosing your size.
The Anna Blouse is fitted through the shoulder, armhole and has a generous amount of ease in the chest, waist and hips.  Check the pattern measurements on the measurement page to see the actual garment measurements.  

The first step is to measure your body and find your size:


Using a tape measure, measure each part of your body as described above.  Try your best to keep the tape measure parallel to the floor.  The tape measure should just skim the body.  Do not pull it too tight.

Pick the Pattern size that is closest to your measurements

Using your measurements taken above, 
Circle the measurement on the Body Measurement page. 


If your measurements fall into different sizes, trace a line directly on the pattern to connect the sizes between bust and waist and between waist and hem.


As you can see in the picture above, my bust and waist are a size 8 and my hips are a size 10.
On the Front pattern, I connected the waist on the size 8 to the widest part of the hip on the size 10 using my hip curve. You can read more about dress making tools HERE.

Be sure to make the change on the Back side seam of the pattern
Cut out or trace your pattern and I will see you back here on Monday to talk about the importance of making a "muslin" or fitting garment.

Have a great day!
xo 
Charise

3.05.2015

The Anna Blouse Sew Along - Putting the Pattern Together


Today I will discuss options for putting your PDF pattern together.  You have two options: Print one large page at a copy shop or print multiple pages at home that you will assemble.

For the copy shop option, call around to different shops in your area.  In Seattle I found two shops close to my house.  Both were able to print my file and the cost ranged from $6.50 to $9.00.  They will give you the details on how to get the file to them.

If you print at home there are just a few things you need to know.


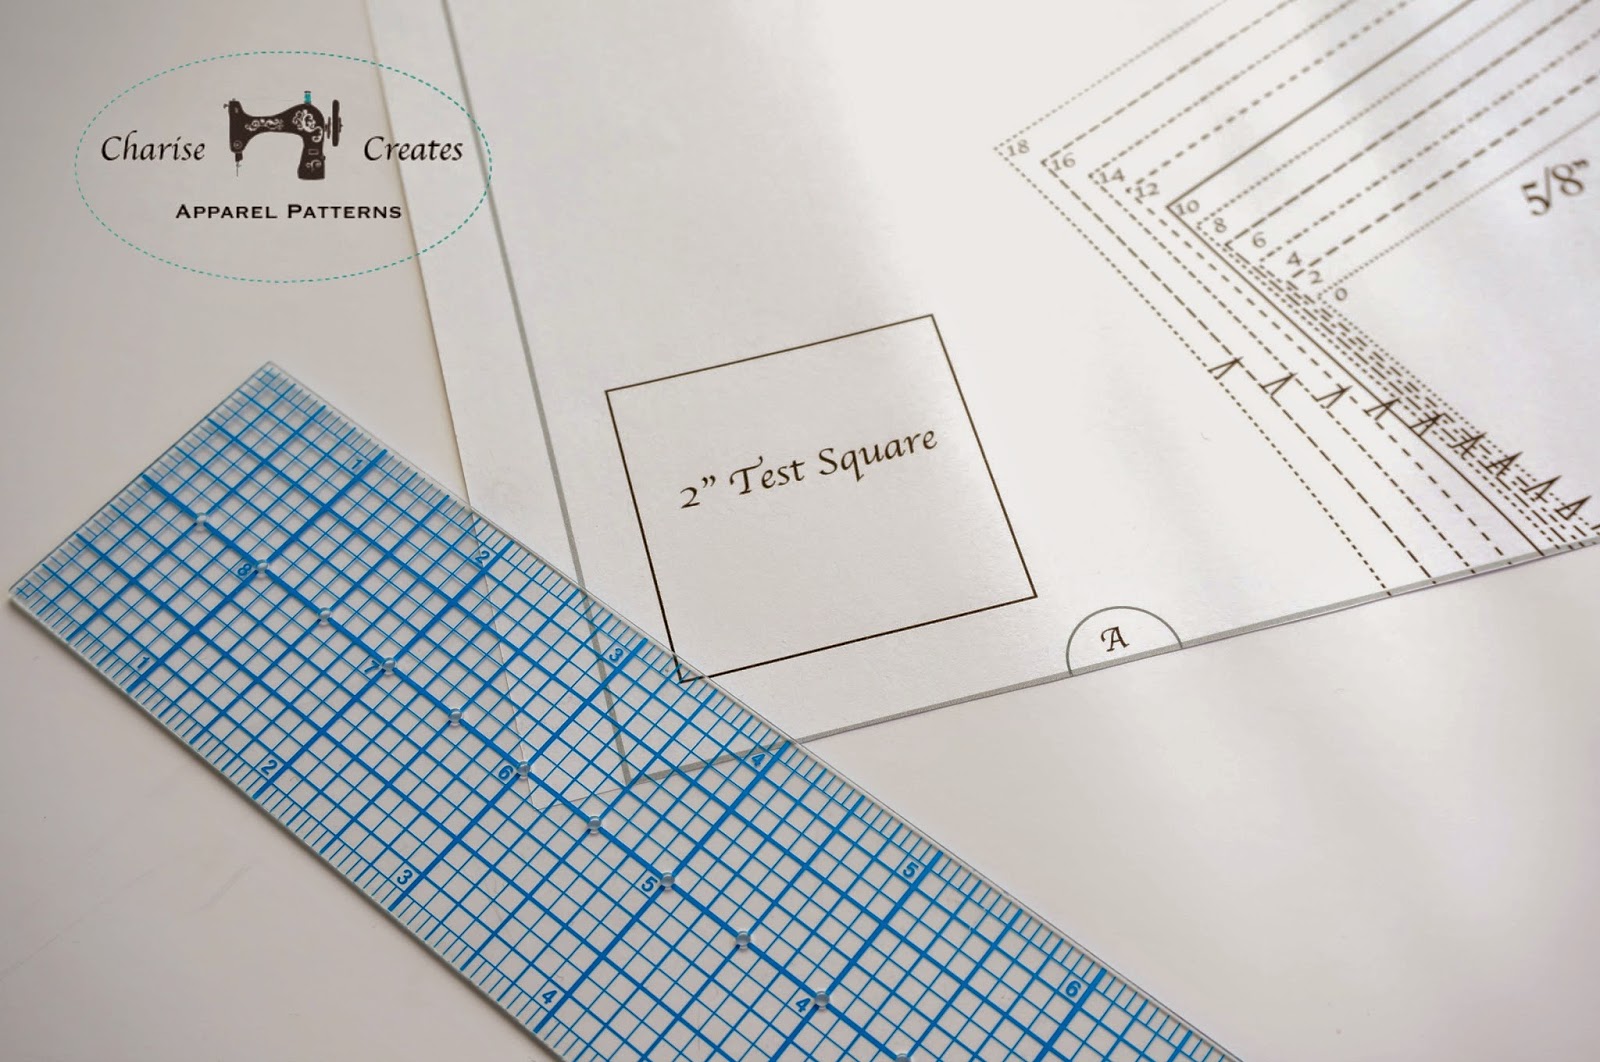
1. Print out page 1 and check the 2" square.  Make sure your printer box is checked to print "Actual Size" or "Do not scale".


2.  Once you have checked the 2" square on page 1 you are ready to print your pattern. Print out pages 2-24.  Cut off the right and bottom margins leaving the gray box around the edges.


3. Tape together matching the NUMBERS in TRIANGLES on the side of the sheets and the LETTERS inside CIRCLES on the top and bottom of the sheets.  The gray borders should just meet - not overlap. Tape the pieces together.


Your pattern will look like this!

Check back tomorrow and we will pick the correct size for you.

xo
Charise

3.04.2015

Let's Take a Trip ~ Work in Progress Wednesday


Happy Wednesday to you.  I have been working on a few bee blocks for a new - well kind of new - quilting bee.  The Cocorico Bee was one of the first online sewing bees I joined.  It is a paper piecing bee and that is where I found the technique of paper piecing.

Months ago I thought it would be fun to start a spin off bee with the ladies from the Cocorico Bee to start a traveling bee.  It is a round robin where we send the start of our quilt to one person in the bee.  It makes it's rounds and ends up in our hands again as a finished quilt top!  There have been some great traveling quilt groups started and I have been admiring their pics on Instagram and Flickr.


The first block I made is the girl going on an adventure (Adventure girl) - something I'd love to be doing right now : )


The second block was made today - a camera block - since every adventure girl needs a cool camera to record her adventures.  I think she has already traveled to Paris - I spy the Eiffel Tower in the lens!

The text and floral fabric is from a new line from Kokka called Lighthearted designed by Ayumi from the Pink Penguin blog.  I think the floral is my new favorite fabric!

Check back tomorrow for the next installment of the Anna Blouse Sew Along - Putting the pattern together.  We will start sewing her up next week.

Be sure to check out the other fab WIP Wednesday projects over at Freshly Pieced.

xo
Charise