Showing posts with label tutorial. Show all posts

11.17.2015

Handmade Gifts ~ "SKETCH" book


With the Holidays right around the corner I thought it would be fun to share some
of my favorite gifts to make. 

Over the next few weeks I will be sharing tutorials and patterns if you want to do a little
holiday gift sewing for your friends and loved ones.

This week I will share gifts for the little and big artists in your life.

This Sketch Book has a paper pieced pencil design on the front.
  
This is the "girly" version but it would be fabulous in Boy colors too.  

Include some Moleskin sketch book refills and some fun pencils for a fun gift.
I tied whimsical twill tape around pretty Orla Kiely Pencils to add a nice little touch.


The back has a pocket for pencils and pens. 
 I designed this because I was always forgetting to include pens or pencils in my purse!  
Now you will always have them handy!


It also has a twill tape book mark to help keep your place.

You can find the tutorial and pattern on the Sew Mama Sew blog [HERE]

I will tag all post with "Hand Made Gifts" if you want to search on the blog.

Enjoy!

xo
Charise


5.20.2015

Bias Binding Tutorial


Hi!  Today I'm sharing a tutorial to make your own bias binding!
I love to make my own Bias binding.  It adds such a nice, personal touch to clothes and sewn items.


Bias Binding is the perfect neckline and keyhole finish for my Anna Blouse.
The Anna was made from gorgeous Double Gauze by Nani IRO supplied by Miss Matabi fabrics.


It also is a great finish for items such as hot pads, purses and tote bags.


You will need:
~ a FQ or more fabric
~ Grid Ruler
~ Rotary Cutter
~ Matching Thread


Happy Sewing!
xo
Charise

1.26.2015

Tips for Sewing with Suede and Leather


I love to use suede as trim on the purses I sew. 
I think it adds a professional look to my projects.


 I was so excited with the results of my suede trimmed “Lovely Gathered Clutch” that I decided to stitch a clutch purse entirely in suede. 

 Here are my tips based on sewing on my home machine. I hope these tips encourage you to take the plunge in sewing with suede and leather! 


 Each one of these clutch purses were sewn on my very simple Singer Home sewing machine!


1. A walking foot is my answer to all sewing on suede except for zippers (see #7 below).  I’ve tried a teflon foot but the walking foot has yielded the best results for me.

2. Use polyester or nylon thread.  If you want your topstitching to stand out, use a heavy weight 100% Polyester heavy weight thread.
3. Attach a leather needle to your sewing machine.  A leather needle is extra sharp and designed for suede/leather sewing.  I like to use a size 18 needle for mid weight suede / leather. 
4. Use a longer stitch length and loosen tension. I set my machine to 3.5.  Be sure to test your stitch length and tension on a scrap piece of suede before you sew your final project.

5. Use non-fusible interfacing to add stability to suede and leather.  To attach the interfacing to the suede/leather piece, apply glue ~ I like to use a fabric glue stick ~ to the perimeter of the sudede/ leather piece and attach the interfacing.  Baste around the outer edge of the piece with a basting stitch 1/4" from the edge.


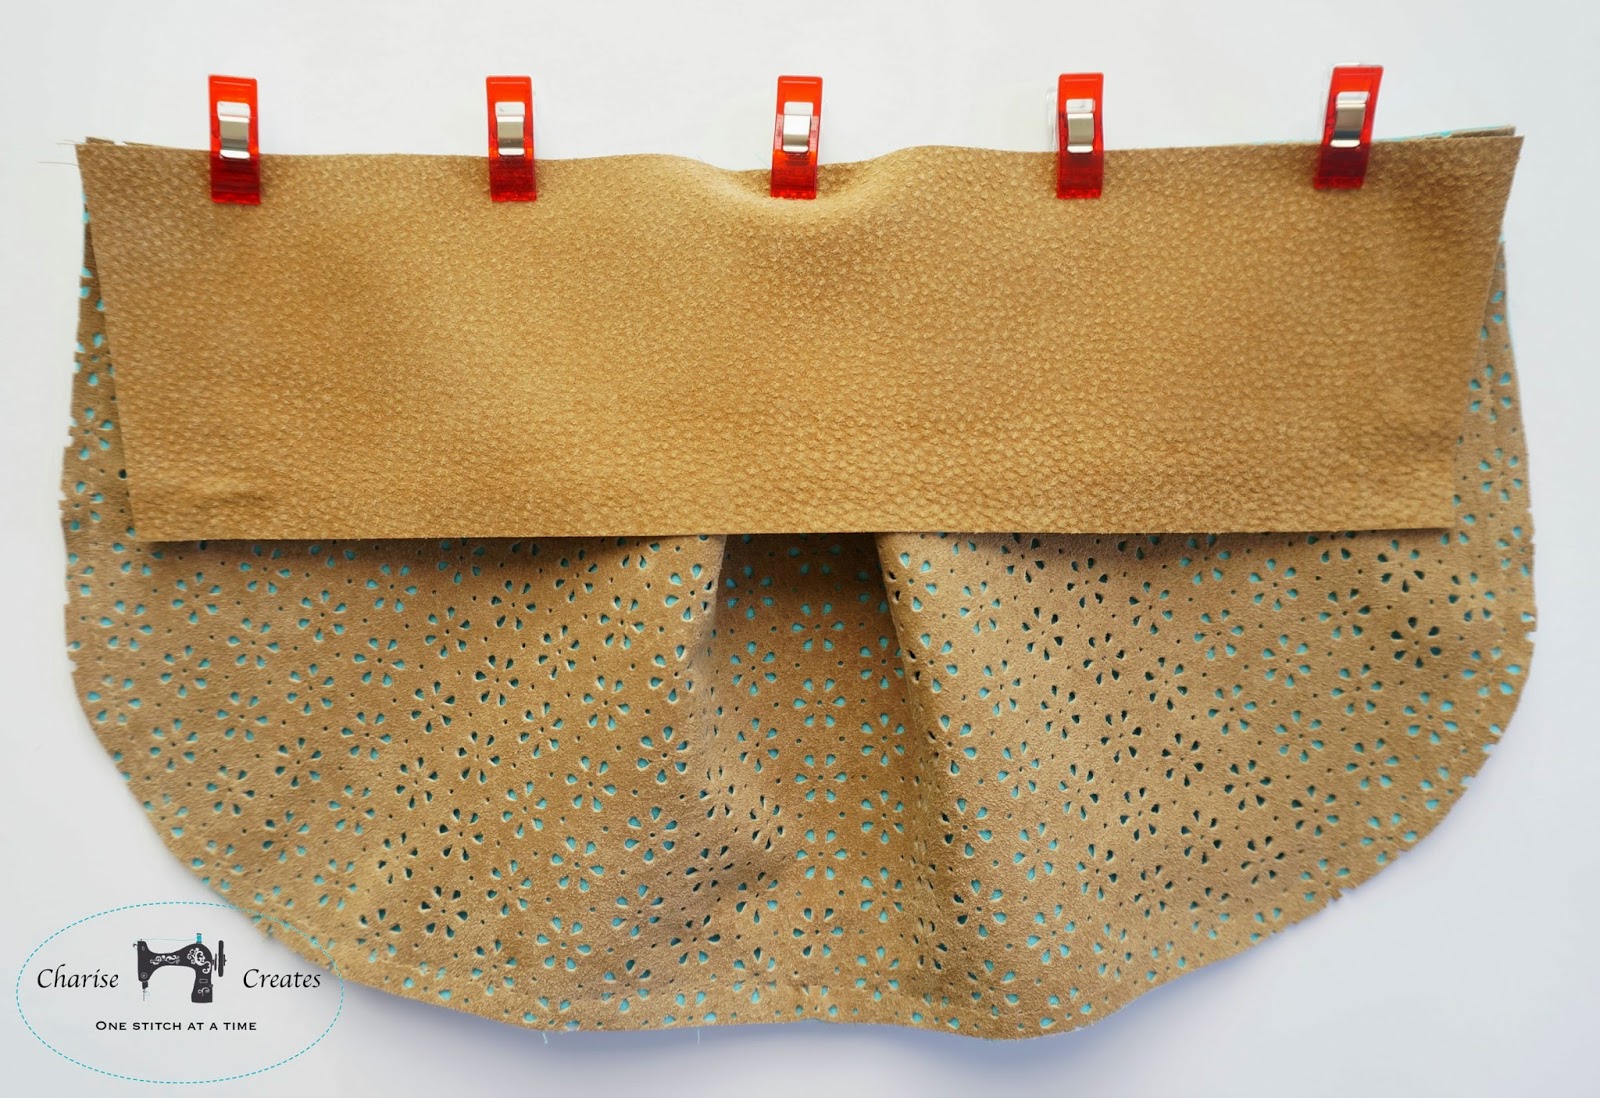
6. Use clips to hold the seams together.  My favorite clips are from Clover.  Pinning is not an option as it will leave holes in the suede/leather.


7.  For sewing on a zipper, or any time you can't use a walking foot, cut a strip of tissue paper about 1” wide and a few inches longer than the seam you are sewing.  Place the tissue under the seam and the suede will not get stuck to the feed dogs and sewing machine plate when stitching the seam.


Remove the tissue paper when you are finished sewing the seam.


8. To flatten seams, use a brayer.  To keep the seam in place before stitching, apply fabric glue stick to the seam allowance to hold in place as pictured. If you want to hold the seams in place permanently, use permanent contact cement.

I hope those tips will help you feel confident sewing with Suede or Leather!!

xo
Charise

1.11.2015

Pencil Pouch Tutorial


Hi!  So glad you stopped by. Today I am sharing a tutorial for a pencil pouch that uses my Paper Pieced Crayon Block.  
You can find the paper pieced crayon Pattern and Tutorial HERE.

This is a perfect gift and extra special filled with a set of colored pencils or crayons!
I made one for each of my kid's teachers for Christmas gifts.  Enjoy!


Supplies
~ Matching Thread
~ Contrast Thread
~ Sewing Machine zipper foot
~ 1 Paper Pieced Crayon Block - The tutorial and pattern link is HERE
~ F8 (9" x 22")  Linen fabric - I used Robert Kauffman Essex Yarn Dye Linen in color Flax
~ F8 (9" x 22")  Print Fabric
~ 1/4 yard Fusible Fleece
~ 1/4 yard light weight interfacing - I used Pellon SF101
~ 9" (or longer) coil Zipper to match Crayon
~ 2 1/2" length of decorative twill tape or ribbon (optional)

Cut
~ From the Linen:
2 - 2 3/4" x 10", 2 - 1 3/8" x 2 3/4", 10" x 5 3/4"

~Print Fabric
2 - 10" x 5 3/4" lining , 2 - 3" x 1 1/4" Zipper Tabs

~Fusible Fleece
2 - 10" x 5 3/4"

~Light Weight Interfacing
2 - 10" x 5 3/4"

Finished size:
9 1/4" x 5"


Step 1 ~ Prepare the outside and Lining panels

1. Stitch the 1 3/8" x 2 3/4" rectangles to each end of the crayon.
Stitch the 2 3/4" x 10" rectangles to the top and bottom of the crayon.  Trim to 10" x 5 3/4".


2. Fuse the Fleece to the back of the crayon block.  Stitch in the ditch around the perimeter of the crayon.

3. Fuse the 10" x 5 3/4" fleece to the back of the 10" x 5 3/4" linen piece.
Fuse the 10" x 5 3/4" light weight interfacing to the back of the 10" x 5 3/4" lining pieces.

Step 2 ~ Attach the Zipper

4.  Measure the zipper and trim to 10” including the zipper tape.


5. Fold the under the ends ¼” of the 3” x 1 ¼” pieces on the 1 ¼” side towards the wrong side.  Press.  Press in half.


6. Butt the end of the zipper to the fold on the tab.  Pin in place.  
Stich the folded edge with an edgestitch.
Repeat for the other side.

Cut the folded edge and trim the zipper to ¼” beyond the edge stitching. Repeat for the other  side.  


7.  Place zipper face down on the right side of the Pouch Panel.  Place the long edge of the zipper tape matching the top edge of the Pouch Panel and Pin in place. 


8.  Attach the zipper foot to your sewing machine.   Stitch 1/4” away from the raw edge, starting and stopping 3/8” from edge, back tacking at ends. 

9.  Place the lining right sides with the right side of the clutch panel.  The zipper will be sandwiched in between the Pouch Panel and the Lining.  Pin lining in place along top edge.
With the outside panel, wrong side, facing you, stitch, follow the stitching that attaches the zipper to the outside panel.


10. Turn the lining over the zipper. The wrong side of the Pouch Panel will be facing the wrong side of the Lining. Press both panels away from the zipper.  Top stitch along the top edge, ¼” away from the top edge stopping and starting 3/8” from side edge, back tacking at ends.
  
11. Repeat  steps #8-10 for the other side.

12. Fold the twill tape right sides together and position 1/4" below seam at top on the left front side.  Baste in place. (see picture above)

Step 3 ~ Finish the Pouch


13.  Separate the lining from the Clutch Panels.  Place the Clutch Panels right sides together matching the top seams and raw edges.  
Mark the bottom corners with a gentle curve.  You can use a mug or cup to trace the curve.
Fold the lining out of the way toward the center of the panel and pin.  
MAKE SURE THE ZIPPER IS OPEN so you can turn right side out at the end.
Stitch 3/8” from edge starting at the top folded edge of the zipper end. Clip small triangles on curved corners being careful not to clip into the stitching.
Press seam open. 


14.  Unpin the lining panels at each end of the zipper. Place the lining right sides together, matching raw edges.   
Mark the bottom corners with a gentle curve.
Pin around perimeter.  Starting just below the zipper coils, stitch 3/8” from edge,
leaving a 4” opening at the bottom for turning. Clip small triangles on curved corners being careful not to clip into the stitching.
 Press seam open.  

15. Turn right side out and press.  Slip stitch or machine edge stitch the opening in the lining closed.
You have completed your Pencil Pouch.  Enjoy!

xo
Charise