Showing posts with label the splendid sampler designer. Show all posts

7.24.2017

The Splendid Sampler ~ Sew Along #2


In case you missed it the first time around, there is another Splendid Sampler Sew Along.
You can find the new sew along blocks [HERE]


The Splendid Sampler is the brain child of Pat and Jane who came up with the idea to ask 100 designers to come up with a 6" block to contribute to a sew along!  
Get all the info on The Splendid Sampler Website [HERE]

The cool thing is that all the blocks have been published in a book.   You can find the book [HERE] 

This is the second sew along in conjunction with the release of the book.
I am so happy they created another sew along.
I didn't quite get to all the blocks the first time around.


So far I have made block #73 entitled "Love" by Jennifer Albaugh.
I am looking forward to making more and watching this quilt grow.


Today, I printed out this handy dandy Block List which includes pics of all the blocks.  
It is a great way to keep track of the blocks you have made.
You can find it [HERE]

Be sure to tag your photos of the blocks you make on Instagram with the hashtag #TheSplendidSampler.

Happy Sewing
xo
Charise


SaveSaveSaveSave

2.14.2017

***The Splendid Sampler Anniversary Celebration - and lots of Give Aways***


Hello and Happy Valentine's Day.
Today I am hosting a give away in celebration of the 1 year anniversary of the Splendid Sampler.

Pat and Jane are hosting a giveaway and you can find it [HERE]
They will have
* a US winner
* an Australian winner
* a Rest of the world winner
Just go to the link above where they will ask for a photo of ALL your blocks and what the project has meant to you. 


I am hosting a give-away, too!  
Leave a comment on this post and share what you feel is the most Splendid part of this Sew Along.

The winner will get a $25.00 credit towards any patterns in my Etsy shop!

Comments are open until Feb 21st at 11:59 PST
and I will announce the winner on February 22nd.


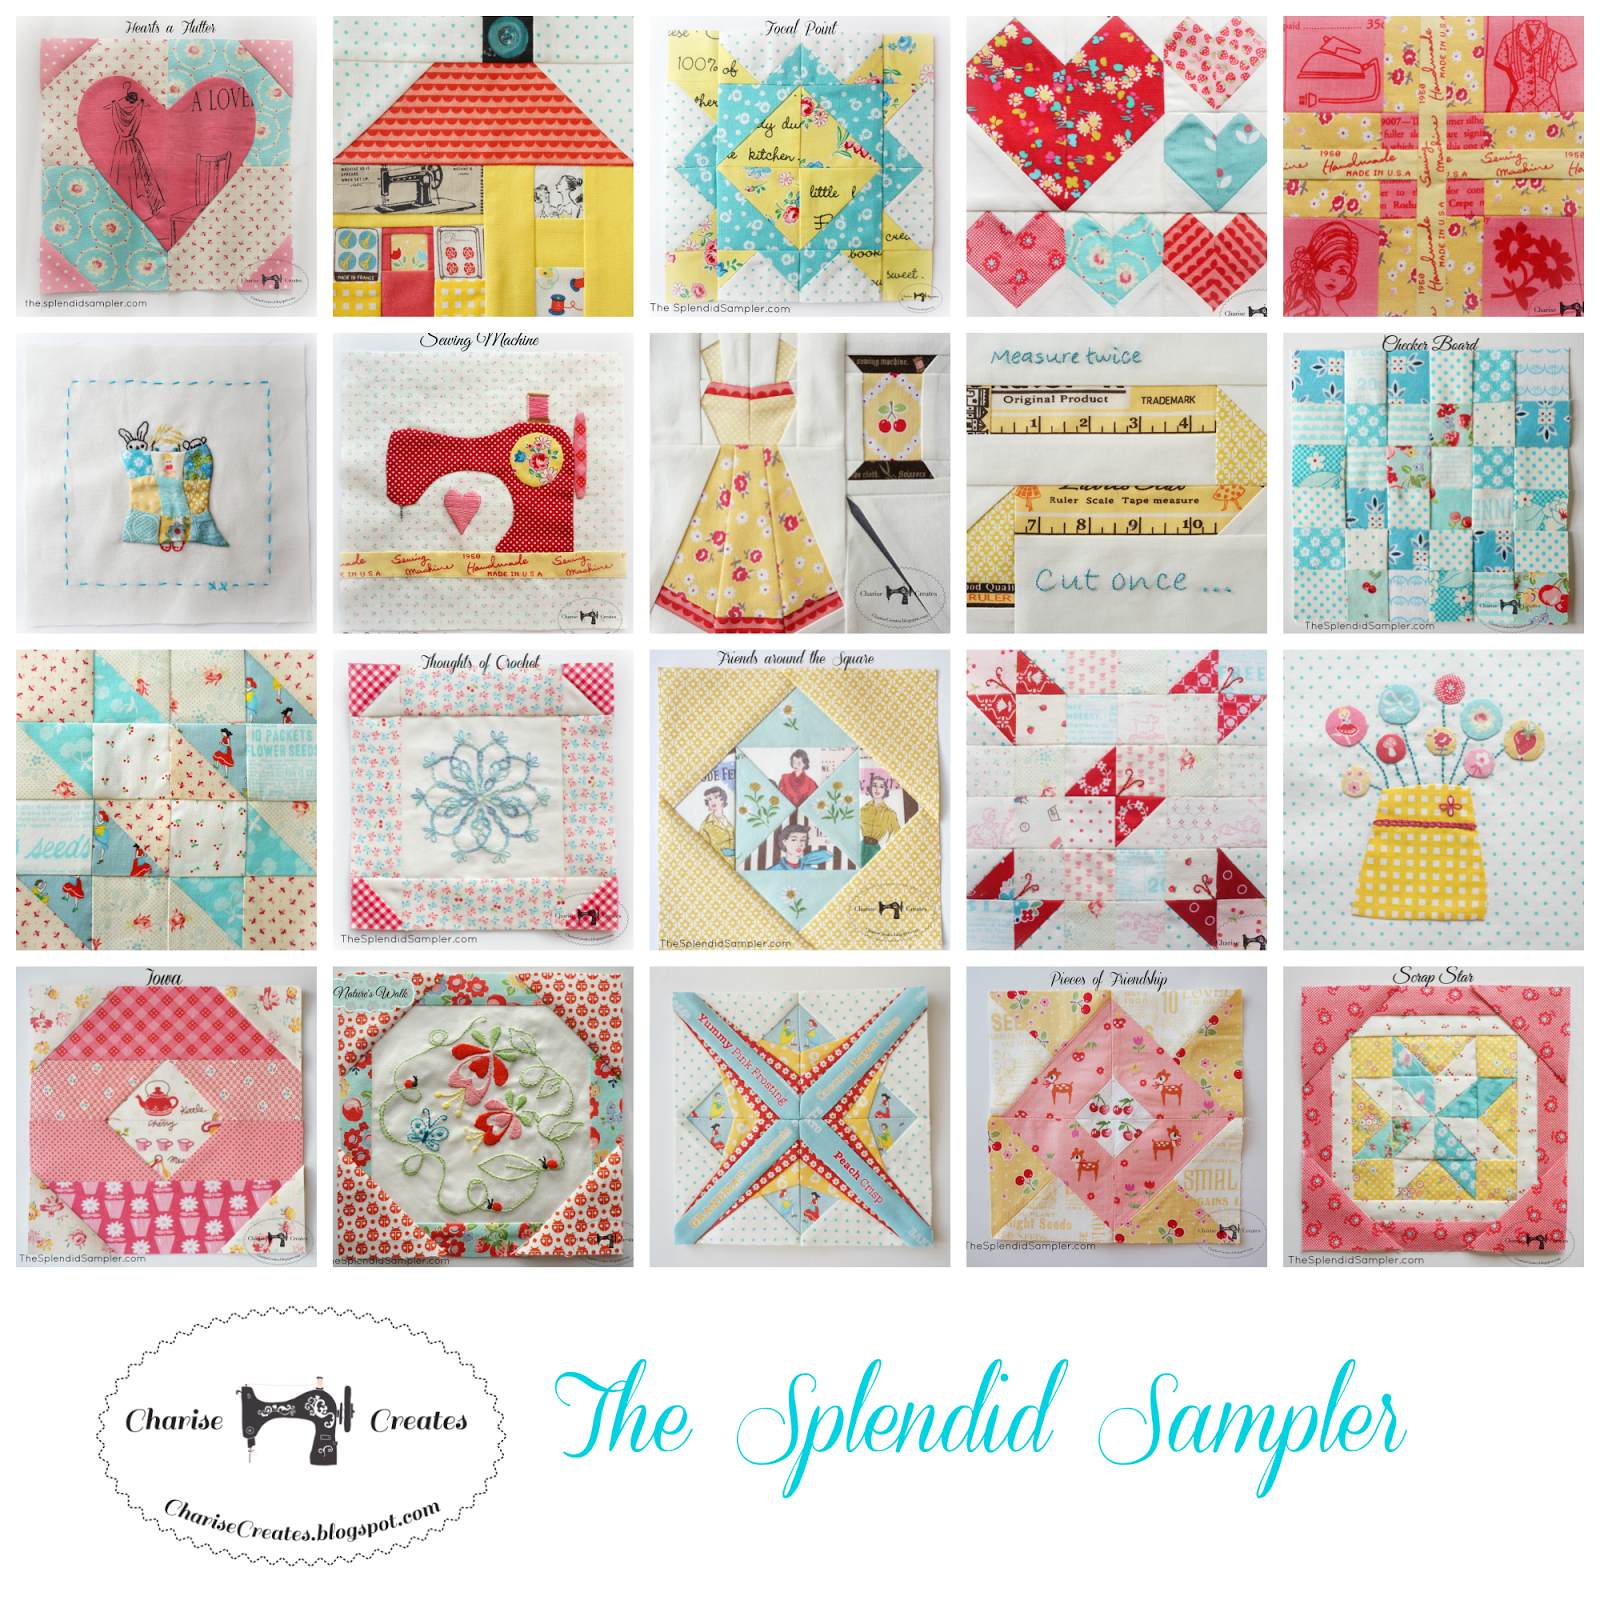
Here are my blocks.  I didn't make 100, but I am well on my way.  
And remember, it isn't a race!  
I have been incredibly busy this year with a house remodel and secret project 😉 so I am very excited to have time to make the rest of the blocks in 2017.


Be sure to get your copy of the book.  You can find it [HERE]


I hope you have a wonderful Valentine's Day.
It is an extra special day for me since I met my husband 18 years ago today!
Oh my gosh, we look so young : )

Good Luck & Happy Sewing!

xo
Charise


5.20.2016

Splendid Notions Pouch


Hi and Happy Friday!  
I made this cute zipper pouch and it uses 6 1/2" blocks as the focal point.
I used my "Stitching Fashion" block from the book "The Splendid Sampler".  


It is a roomy 9 1/2" x 9 1/2" and is large enough for a 4" embroidery hoop plus scissors and thread.
There is a handy pocket inside for stowing more goodies, too.

If you'd like to make one too, you can find the tutorial for this pouch [HERE]

Happy Sewing
xo
Charise

5.18.2016

Stitching Fashion ~ My block for the Splendid Sampler


Today I am so excited to share my block for the Splendid Sampler Sew Along. 


The Splendid Sampler was the brain child of Pat Sloan and Jane Davidson.  
For one year, they are sharing two - 6" blocks per week from over 80 different designers.  
The patterns are free for the year and after that they will be published in a book! 
You can find the patterns [HERE]


"Stitching Fashion" is entirely paper pieced.  I would consider this an intermediate pattern so if you are new to paper piecing, I highly recommend making my Free Crayon pattern first.  It has detailed instructions to make a paper pieced crayon block as well as a comprehensive list of my favorite tools and notions I use for paper piecing. 
You can find the pattern [HERE] 


I also have a tutorial for a fun pencil pouch you can make with your crayon block!
You can find the tutorial [HERE]


  ~Here are a few tips to help you make your "Stitching Fashion" block~


CUT THE PATTERN APART BY LETTER UNIT

You will want to cut the pattern apart by letter unit as shown above.

***My patterns do not include seam allowances.  
I find I get better results without bulky paper seam allowances.***


PAPER PIECE EACH INDIVIDUAL UNIT

Paper Piece each individual letter unit being sure to add 1/4" around each pattern section.


For letter units with only one piece, use a bit of fabric glue or a pin to attach the pattern piece to the wrong side of the fabric.
Cut around the pattern piece leaving 1/4" seam allowance.


MATCHING SEAMS


The reason I prefer to not have bulky paper seam allowances is that it helps make it easier to sew the individual lettered sections together.


I want to make sure that the seams match perfectly.
I will be sewing the top of the spool to the middle spool section.  
(shown with the arrow in the picture above)


First, find the seam intersection and put a pin through that point on the wrong side.
Find the corresponding point on the other piece.  Pin together with right sides together.


Baste over the seam.  

Open the seam and check if the points match.
If they do not, remove the basting stitch and try again.

If they match, stitch the seam with 10 - 12 stitches per inch back tacking at the beginning and end of the seam.


FUSSY CUTTING

I absolutely adore fussy cut blocks.  It is such a fun way to add an extra special touch to your block.


Figure out what motif on your fabric you want to fussy cut.
I decided I wanted a cherry on the center of my thread spool.


Place the pattern over the motif on the wrong side of the fabric.  Use fabric glue or a pin to secure in place.


Fold the pattern back on the seam lines and trim around the section leaving a 1/4" seam allowance.


I love the yellow and red fabrics used for the block!
Left to Right
Hope Chest by Connecting Threads, Calico Days by Lori Holt for Riley Blake, Micro Dot by Lecien, Red Scallop by Bonnie and Camille, Yellow Ground Fruit - Lori Holt for Riley Blake.
The brown fabric I used for the spools is an older Japanese print I've had in my stash for ages.  Sadly, there is no information on the selvage.


I hope you enjoy making the block.  It was lots of fun to design!

Happy Sewing
xo
Charise


3.24.2016

Splendid Sampler ~ Crocheted Thoughts & Checker Board


Happy Spring to you!
It still feels like Winter here in Seattle, Washington in the beautiful Pacific Northwest, but at least my Splendid Sampler blocks are made with Spring colored fabrics.
You can find all the details and FREE patterns at TheSplendidSampler.com


Crocheted Thoughts was a joy to make!  You can find more about the block and it's designer Alyssa Thompson [HERE] 
It was my "relax while watching the T. V. and stitch" project for several evenings : )

The sweet bow and cherry print is Yuwa Fabric "Bows and Cherries" by Atsuko Matsuyama.
The background fabric is my favorite "go to" cream cotton background - RJR Supreme Solids in color French Vanilla.


I transferred the design by tracing the design onto my fabric with a water soluble marker.
I'm pleased with the end result.


Today's Splendid Sampler block is Checker Board by Pat Sloan.  I adore this block.  The first one was made with blue fabric scraps.
  

I couldn't resist making a second block with some pink, red and yellow scraps.


Having an entire quilt with these tiny squares would be divine : )

Happy Sewing!
xo
Charise


3.17.2016

The Splendid Sampler ~ Local Quilt Shop & Iowa

Today I am sharing my versions of the latest two blocks in the Splendid Sampler Sew Along - Local Quilt Shop & Iowa.


I am a big fan of the technique of paper piecing so I was very happy that Jane provided a paper piecing template for her design, "Local Quilt Shop".  House blocks are some of my favorite.  I have made many for friends in the Cocorico Bee.  You can find a few [HERE] and [HERE].


Iowa, designed by Sherri McConnell, is an adorable block.  I chose to make it scrappy in pinks and reds.  The corner background fabric is from one of my favorite vintage feed sacks.
The center fabric is a prized Japanese fabric I have had for years.

Be sure to head on over to TheSplendidSampler.com to get the patterns!

Happy Sewing
xo
Charise

3.10.2016

The Splendid Sampler ~ Friends around the Square


Sewing along with the Splendid Sampler has been such a fun journey.  
I often spend my days designing my own patterns so sewing up someone else's pattern is always a welcome treat.

As with the Farmer's Wife 1930's Quilt Along, I spend lots of time picking out the perfect fabric.

For the new Splendid Sampler block, "Friends Around the Square" designed by Julie Karasek of Patched Works, I decided to take the title quite literally. 

Fabric for my "friends" are Paris Fashion Ads by Suzuko Koseki fabric from Yuwa.  The daisy fabric is "Dear Marguerite Daisy" floral fabric also designed by Suzuko Koseki.  You can find the Fashion Ads fabric [HERE] 
The print comes is four different color ways.
You can find the Dear Marguerite fabric [HERE] 

The yellow surrounding  border print is a Denyse Schmidt fabric designed for Joann Fabrics ~ DS Quilts for fabric tradition from 2011.

Be sure to head on over to TheSplendidSampler.com for a copy of the pattern!


 I think blocks 1-8 (plus the bonus block) are living happily together : )
Happy Sewing
xo
Charise

3.03.2016

The Splendid Sampler ~ Focal Point & Simple Simon


Happy Thursday!
Today I am happy to share the latest two blocks in The Splendid Sampler Sew Along.
This block feels like Spring to me and I am ready for Spring : )

The block is called "Focal Point" and is designed by Natalia Bonner.
Head on over to the Splendid Sampler for the pattern.


I used one of my favorite fabrics for this block.  The text print is from Kumiko Fujita and has been out of print for years.


Fabrics from Left to Right:
Yellow Text Print ~ Designed by Kumiko Fujita (out of print)
Aqua Dot ~ Moda Essential Dots Teal on white


Simple Simon is a lovely block designed by Celine Perkins.
She has a fabulous tutorial on her blog with tips for making this block.

Fabrics used:
Pink /red print ~ Lori Holt for Riley Blake "Vintage Happy", Yellow floral ~ Older print from Connecting Threads "Hope Chest", Yellow Sewing Machine text print ~ Suzuko Koseki (superbuzzy.com has a good selection of her prints)


I have been playing around on Adobe Illustrator and came up with this plan for the quilt!
It will be adjusted for 100 blocks, but I wanted to share it smaller so you could see the detail.

Happy Sewing
xo
Charise

2.25.2016

The Splendid Sampler ~ "Happy, Happy" & a Circle Appliqué Tutorial


Hello and Happy Thursday.
Today I am sharing my version of Jen Kingswell's block Happy, Happy.
I have been a big fan of Jen's work for some time and it was such fun to make her block.
You can find the pattern [HERE]


I adore this block but I will admit once I printed out the pattern I thought - " my, those are some tiny circles".  The larger circle is nickel sized and the small one is a bit smaller than a dime.
Don't fret - I have a tutorial to make this completely doable!

I personally love a challenge and I put on my "thinking cap" to figure out the best way to appliqué this tiny circles.
I am by no means an expert at appliqué but I have used the technique in a few of my sewing projects with larger circles.


 I used appliqué to create the flower on this Blossom Appliqué handbag.


Applique is the technique I used to create the center on this block from my Vintage Block Sew Along.

OK... Let's Get Started!

CIRCLE APPLIQUE TUTORIAL

Materials:
Card Stock (you can also use copy paper but card stock will give you a crisper, cleaner edge.
and you can easily re-use the template)
Paper scissors
Spray Starch
Q-tip
Hand Sewing Needle
Thread
Fabric Glue Stick
Fabric
Fabric Scissors


1) Print out the pattern onto card stock. Carefully cut out the circle.

2) Apply glue to the back of the circle. Place the circle on the wrong side of the fabric.
***This is a perfect opportunity to fussy cut a motif on your circle*** 


3) Cut around the circle leaving 3/16" - 1/4" seam allowance.

4) Stitch around the circle with a running stitch with the stitches approximately 1/8" apart

5) Pull up the thread, gathering the seam allowance around the circle.  Secure the stitching.
Dip the q-tip in spray starch and apply to the perimeter of the circle on the seam allowance.
Press the seam allowance flat.


6) Remove the stitching and the paper circle, and press again from the back and front.
Now you are ready to appliqué the circle to your Happy, Happy block!

Connecting threads has a good video tutorial for appliqué [HERE].  They use silk thread, but cotton thread works well, too.  I like Aurifil 50 wt thread cotton thread.

Enjoy!

xo
Charise