Showing posts with label anna blouse sew along. Show all posts

3.18.2015

The Anna Blouse Sew Along ~ Setting Sleeves


Thanks for joining me for another tutorial for sewing the Anna Blouse.  Today I will talk about setting sleeves.  The Anna Blouse has a set in sleeve.  The side seams and under sleeve (underarm seams) are sewn before setting the sleeve.  This is similar to the way a blazer sleeve is sewn in place.


 1) Change the stitch length on your sewing machine to a longer basting stitch length.  Stitch two lines of stitches 1/2" and 3/4" from the raw edge, between the notches, on the right side of the sleeve.   Back tack at one end to secure the stitches.

2) Change the stitch length back to 10 - 12 stitches per inch.
Sew the Under Sleeve (underarm) seam and Hem following instructions.


3) Turn the sleeve right side out.  Turn the garment inside out.
Pull up the bobbin side (wrong side of the sleeve) basting threads on the sleeve.
Place the right side of the sleeve to the right side of the garment.  Match the Under Sleeve seam
to the garment Under Sleeve seam and pin in place.

Match the notches on the sleeve to the notches on the garment and pin in place.
Pull up the bobbin threads on the gathering stitches.


4)  I like to secure the threads on the end without the back tacking, by wrapping the thread around the pin on the opposite side of the gathers at the notch.
Distribute the gathers evenly.  Use the tip of a pin to help move the gathers.

5) With the wrong side of the sleeve facing you, stitch the armhole seam.  Start stitching at the under sleeve seam, continuing to the beginning.  Back tack at ends.

6) Finish the raw edge with a serged or zig zag finish.
Repeat for the other sleeve.

You are almost done!  I will share a few methods for hemming your blouse tomorrow.

xo
Charise


3.16.2015

Sewing Binding the Easy Way ~ The Anna Blouse Sew Along


Sewing binding can be downright tricky, but if you follow my tutorial I promise you will never be intimidated by sewing binding again!

I also use this method for sewing small fabric accessories including potholders and placemats.  You can a tutorial for adding bias binding to round potholders HERE.

Today I will share a tutorial for making and sewing on the binding on your Anna Blouse.

Prepare the binding

I find it easiest to sew the binding if the fold marks are creased prior to sewing on the binding.  It is especially important if you are sewing narrow binding like the binding on the Anna Blouse.

There are two ways to prepare the binding:
1)
Stitch the Center Back Seam.
Fold the neckline bias binding strip in half, wrong sides together. Press
Unfold the strip.  Match the raw edge to the center crease and press.  Repeat for the other side.

2)
My favorite way to prepare binding is to use a binding tool.
You will need a 1/2" flat fold binding maker for the Anna Blouse.
First, Sew the Center Back Seam.
Feed the binding strip through the binding maker.  Press in half.

I like to compare the length of the prepared binding to the pattern.  If the binding has stretched a bit, cut to the pattern length.

Apply the binding ~ No Tie Version

1) Place the binding right side to the wrong side of the blouse.  Match the Center Back, Shoulder and Center Front (CF) notches.  Pin in Place.

With the binding facing you, Start stitching at the Center Back.  Stitch around the neckline until you reach the CB.


2) Fold the binding over to the right side folding under 1/4" on the pressed line.  Pin in place being sure to cover the previous stitching.  I like to lightly press the binding in place.

If you have a tailor's ham, place the ham under the binding and Pin in place.  Press lightly.

3) Edge stitch along the fold starting at CB and continuing around the binding to CB.  Back tack at ends.


Apply the binding ~ Tie Version

1) Stitch the Center Back (CB) seam


2) Place the binding right side to the wrong side of the blouse.  Match the Center Back, Shoulder and CF notch.  Pin in Place.
Starting at CB, stitch around the neckline until you reach the CF. Back tack at ends.


3) On the short end of the neck binding, fold under 1/4" and press.  Repeat for the other side.


4) Fold the binding over to the right side folding under 1/4" on the pressed line.  Pin in place being sure to cover the previous stitching.  Press lightly. Repeat for the other side.

5) If you have a tailor's ham, place the ham under the binding and Pin in place.  Press lightly.


6) Starting at the CB, Edge stitch along the folded edge to the end of the tie back tacking at both ends.  Repeat for the other side of the neckline.  Press.

Join me tomorrow for some sleeve setting fun : )

xo
Charise


3.15.2015

Sewing A French Seam


French seams are a wonderful way to finish your seams without using a serger or zig zag stitch.  
It is great for side seams and shoulder seams.   Perfect for Blouses, Dresses and Skirts. 
For the Anna Blouse, all seams are finished with French Seams except for the armhole/sleeve seams.  French Seams work best if the seam allowance is 1/2" or larger and there is no on-seam pockets.  

The Anna Blouse has 5/8" seams which is what this tutorial is based on.

1)
Place your fabric panels wrong sides together matching the raw edges of the seams.
Stitch the seam with a 1/4" seam allowance.

2)
Press the seam open.

3)
Place the panels right sides together and press the seam flat.
Stitch with a 3/8" seam allowance.


4)
Press the seam towards the back panel.

Yay!  Your have a fabulous couture quality seam finish to use in your projects!

xo
Charise


3.13.2015

The Anna Blouse Sew Along ~ Sewing the Keyhole and Neckline Tucks


Hello and Happy Friday.
Today I will share a tutorial in pictures for Creating the Keyhole and Neckline Tucks on your Anna Blouse.


Sewing the Keyhole
This is the most difficult part of the blouse.  Once you get the keyhole sewn the rest is easy peasy! Be sure to Go slowly when stitching the binding to the keyhole and again when completing the final edge stitch.


A.  Clip the top of the keyhole.  Stay stitch around the keyhole 3/16" away from the edge.  ( A scant 1/4")


B. Fold the keyhole bias bindings strip in half wrong sides together along the long edge.  Press.
Unfold the binding strip.

Match the long raw edge to the center crease and press.  Repeat for the other edge. Press.


C. Place the bias binding strip right side to the wrong side of the keyhole.  Match the Center Front notch on the bias trip to the Center Front at the bottom of the keyhole.  Pin in place.

D. Pin the top of the bias binding to the top of the keyhole on both sides.


E. Pin around the keyhole easing the binding on to the keyhole edge.


F. With the front blouse facing you (the bias strip will be on the bottom), stitch the bias binding to the keyhole with a 1/4" stitch.


G. Fold the binding over to the right side encasing the seam allowance and folding under 1/4" on the crease.  Pin in place being sure to cover the previous stitching.


H. Edge stitch around the keyhole. Press.

Sewing the Neckline Tucks

 To Create the tucks you will match the top notches and the bottom dots, folding the fabric on the fold line, for each tuck.


A. With the right sides together match the bottom dots and top notches on each tuck and fold in half on the fold line. Pin in place.


B. Starting at the dot, back tack and stitch to the top notch, back tacking at the end of the seam


C. Press the tuck flat,  matching the fold to the center of the seam.


D. Repeat for the remaining five tucks.  Baste the tucks in place 3/16" from the raw edge ( a scant 1/4")

Congrats!  The hardest part is done!  Join me on Sunday and I will show you how to sew French Seams!

3.12.2015

The Anna Blouse Sew Along - Marking and Cutting out your pattern


Hello!  Today I will share some tips for cutting out and marking your Anna Blouse.
Hopefully by now you have made any changes to your Muslin and Pattern and are ready to cut into your final fabric.

Refer back to the Supplies page for all the items you need to mark and cut out your Anna Blouse.

Preparing and Marking your pattern


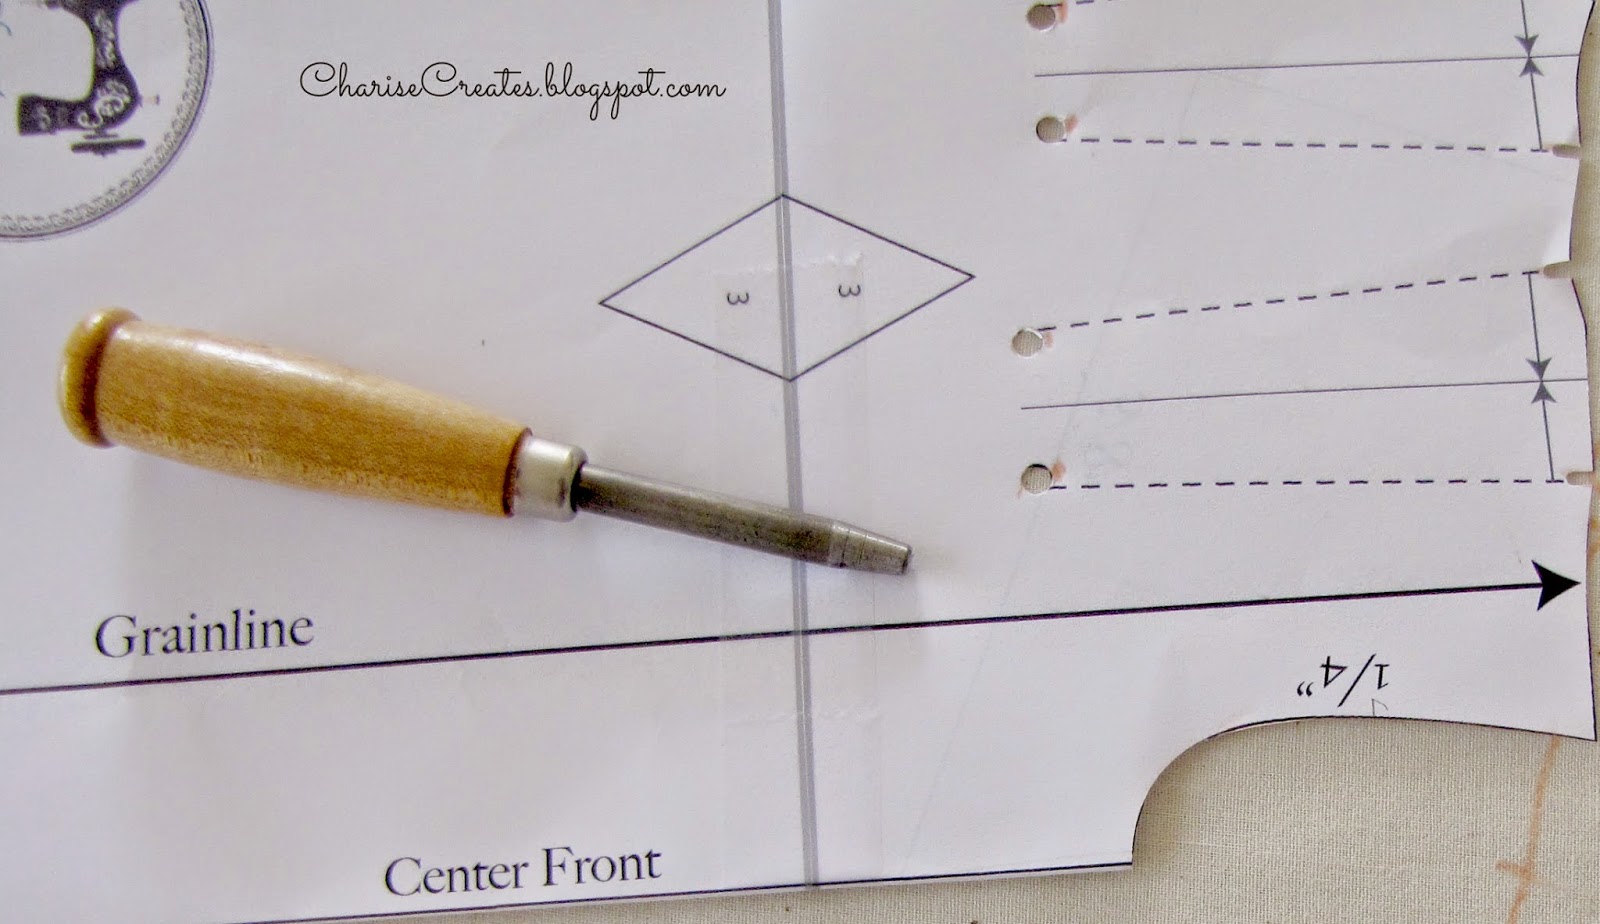
First,  you will want to prepare your Pattern for marking.  If you have a notcher, mark each notch on the pattern with the notcher.  The notcher will cut a small square cut into the edge of the pattern.
 If you don't have a notcher, cut a tiny "V" on your pattern at the notch marks.


My preferred method for cutting out my patterns is tracing around the pattern with Tailors chalk.


Arrange your fabric referring to the Cutting Layout sheet on the pattern.  If the fabric is folded in half, make sure the selvage edges meet and the grain line runs the length of the fabric.
Make sure to press your fabric to get all the wrinkles out.

Place the largest pieces on the fabric first and anchor in place with pattern weights.


Next, place the smaller pieces down (Binding neck and cuff trim, keyhole trim).  Make sure the grain line is parallel to the grain line on the fabric by measuring from the edge of the fabric fold or selvage to the grain line on the pattern piece with a ruler.  Secure in place with pattern weights.


Trace around the pattern pieces with Tailors Chalk.  Mark all the notches with chalk.    You can add pins to the edge of the pieces on the inside of the chalk line to keep pieces with multiple layers in place.


Cut around the piece just cutting off the chalk line.


Using your scissors, clip into each notch by 1/8".

Marking the Tucks
(This is the same process used for marking darts)

Print and cut out the Tuck Template for your size.

1) Supplies: Notcher, Circle Cutter and Tailors Chalk, Marking Pen or Pencil

Mark the notches on the Tuck Pattern Template with the notcher.  Mark the bottom of the tucks with the circle punch.

Place The template on the wrong side of the front panel, lining up the top edge and CF.  Pin in place. Mark the notches with tailors chalk.  Cut the notches 1/8" into each marking with scissors.

Mark inside the circles with a marking pen or pencil.

Place the Template on the other side of the front panel and mark the bottoms of the tucks.

Draw a line from the top notch to the bottom legs of the tucks.


2) Supplies: Tailor's Chalk and Marking Pen or Pencil.
Place The template on the wrong side of the front panel, lining up the top edge and CF.  Pin in place. Mark the notches with tailors chalk.  Cut the notches 1/8" into each marking with scissors.

Pin the bottom of the tucks at the circle marks.

Lift the template and mark the circles on the fabric with a fabric pen or pencil.

Flip the template over and mark the circles below the pins on the opposite side.

Draw a line from the top notch to the bottom legs of the tucks.


Check back tomorrow and we will sew the tucks and keyhole binding!
xo
Charise


3.10.2015

The Anna Blouse Sew Along ~ Pattern Alteration ~ Increasing the Bicep


Today I am going to share a tutorial for altering your Anna Blouse Pattern to have a larger bicep / upper arm.


This is called a "Slash and Spread" method to add more volume to this area.  


If you want a flutter sleeve this is how you would add that detail to your Anna.


1) Trace the Short Sleeve pattern on a new sheet of paper.
Draw a line from the center notch to the hem parallel with the grain line.  This line basically cuts the sleeve in half.  Cut out the sleeve.


2) Cut on the line from the hem about 5/8" away from the top edge.  Open the pattern the amount you wish to increase the bicep.  In this example, I am increasing the bicep by 1".


3)  Side a piece of paper under the area you spread and tape in place.


4) Redraw the grain line from the top notch to the center of the area you spread the pattern.  On this example the grain line is 1/2" from the cut edge.

5)  Redraw the curve on the top edge of the sleeve with your French Curve.

6) Draw the bottom hem with you French Curve.

Join me on Thursday and we will Cut Out and mark you Anna Blouse in your Final Fabric!