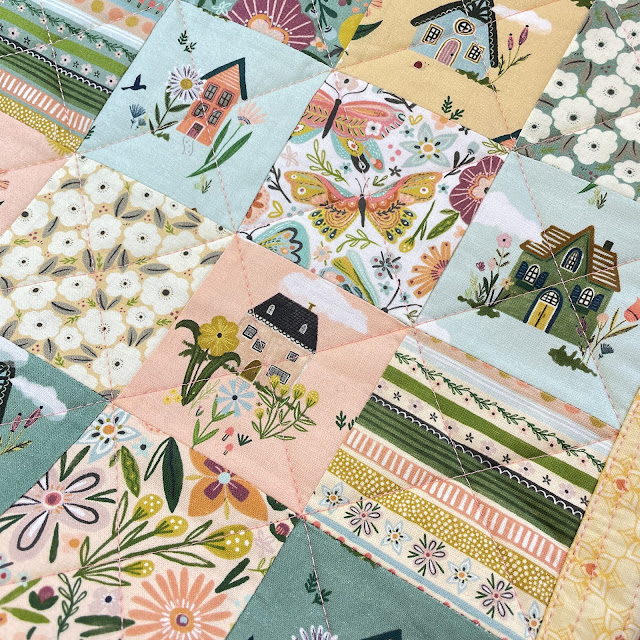
The line consists of a super cute cottage print as well as an adorable stripe, florals and a butterfly print.
A patchwork tote seemed like a perfect project to show off the cute prints. You can find the tutorial for my "16 Patch Tote" at the bottom of this post.
I love the vintage button for the closure.
You can find the pattern for the Large Sketch Book Cover HERE
Please share your projects made with "Cottage Charm" on social media with the following hashtags:
- #cottagecharmfabric
- #cottagecharmfabrictour
- #poppiecottonfabric
- #poppiecotton
- #lovepoppiecotton
16 Patch Tote Bag
Materials
Assorted Prints for Patchwork Panels: 32 - 3 1/2" squares from 12 different prints
Gingham: Gusset- 36 1/2" x 3 1/2", Straps- 2 - 24" x 4 1/2" (20" x 4 1/2"), Tabs: 2- 1" wide x 2 1/4" long
Lining:
1 - 36 1/2" x 3 1/2" (gusset), 2 - 12 1/2" squares (body)
Fusible Batting:
1 - 36 1/2" x 3 1/2" (gusset), 2 - 12 1/2" squares (body)
Medium Weight Interfacing:
Straps: 2 - 24" x 4 1/2" (20" x 4 1/2")
*Apply the interfacing to the wrong side of the Straps, and the Batting to the wrong side of the Gusset following manufacturer instructions
*All seam allowances are 1/4" unless otherwise noted
1. Create the patchwork purse panels
Stitch each row together.
Stitch the rows together, nesting seams.
Press horizontal seams open.
Make 2.
b. Apply the batting to the wrong side of the patchwork panel.
Quilt a diagonal pattern corner to corner.
Repeat for the second patchwork panel.
2. Attach the gusset
a. Quilt the gusset in 1/2 inch rows along the length of the strap.
b. Mark the gusset at 12 1/4" from each raw edge.
Stitch a horizontal line 1/2" on either side of the marking 1/4" from the raw edge.
Clip at the marking just outside the stitching.
Repeat for the other side.
c. Place the gusset right sides together with the patchwork panel matching raw edges.
Match the corners to the markings on the gusset.
Stitch around the perimeter.
Repeat for the other side.
3. Create and attach the straps
a. Fold under 1/4" to the wrong side of each long edge of the strap.
Fold in half wrong sided together.
Edgestitch each long edge.
Fold that strap in half. Edgestitch between each 6" marking. You will stitch 8" in the middle of the strap.
Repeat for the second strap.
c. Place the strap on the top of the purse panel matching raw edges. Place the inside edges of the strap matching the inside seam of the first and last square on the top tote panel. Baste in place.
Repeat for the second side.
4. Create the loops
f. Place the loop centered on the top edge of the gusset on both sides. Baste in place.
a. Follow instruction 2b and 2c to construct the lining. Leave a 4" opening on one bottom edge for turning.
b. Turn the lining wrong side out. Place the outside tote inside the lining, right sides together. Match seams and top raw edges. Stitch the top edge. Press seam open.
6. Finish the Tote
a. Turn right side out.
Top stitch the top edge 1/4" from the seam catching the loops.
Add a cute charm to the loops.
You can also attach a shoulder strap to the loops if you want!


No comments:
Post a Comment
Thanks for stopping by!
I love to read your comments - they make my day!!